Pages

Showing posts with label BLT Dezignz. Show all posts

August 19, 2015

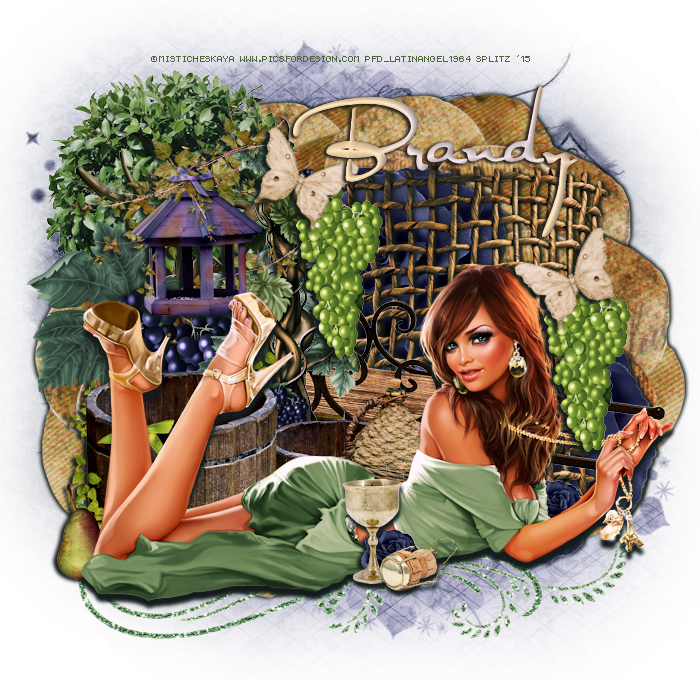
Vineyard - CT PTU Tut - In THe Vines by BLT Dezignz


I am using PSP X6 to create this tag but any other version will work.

using a Fab kit by BLT Dezignz named In the Vines available here

Gorgeous art by Misticheskaya. You need a license to use her art and you can get HERE

Mask is by Me #2  HERE

FTU Font Al Sandra

No Outside Filters Used

Don't Forget Your Drop Shadows

HERE WE GO!
Open new image 700 x 700, Resize tube by 40 c/p onto canvas. El Barrels resize by 15 c/p and place directly behind tube. Flower 1 resize by 50 c/p and place to the far right behind tube.   Duplicate layer  flip horizontal and place to the up above behind Flower 1. Grape 2 resize by 15 c/p and place to the left . EL Vine 2 resize by 10 c/p and place  towards middle by Grape 2. El Birdfeeder resize by 10 c/p and place between Vine 2 and Grape 2. El Plant resize by 20 c/p and place to the left behind  Elements. El Wagon resize by 40 c/p and place towards middle in front of Flower 1 Layers. El Jug resize by 5 c/p and place behind middle of tube. El Mesh resize by 15 c/p and place towards right behind Wagon. El Butterfly and Chalice resize by 5. C/P Chalice by tube in the middle, c/p butterfly by Lantern, duplicate flip horizontal and place that layer by mesh. El Cork resize by 3 c/p and place by Chalice. El Grapes 1 resize by 10 c/p and place by Butterfly and Lantern, duplicate and place this layer by other butterfly by Mesh. El FLower 1 again this time resize by 10 c/p and place by Chalice . El Swirl resize by 35 c/p and place underneath tube. El Flower 5 resize by 45 c/p and place towards left behind Elements. I duplicated this layer 4 times and just moved the layers to frame around the tag.  Add your drop shadows. Add your Mask. 
Add Photo Effects Time Machine Cross Process
Add your name, Cr and license 
Save as PNG!
post signature

August 9, 2015

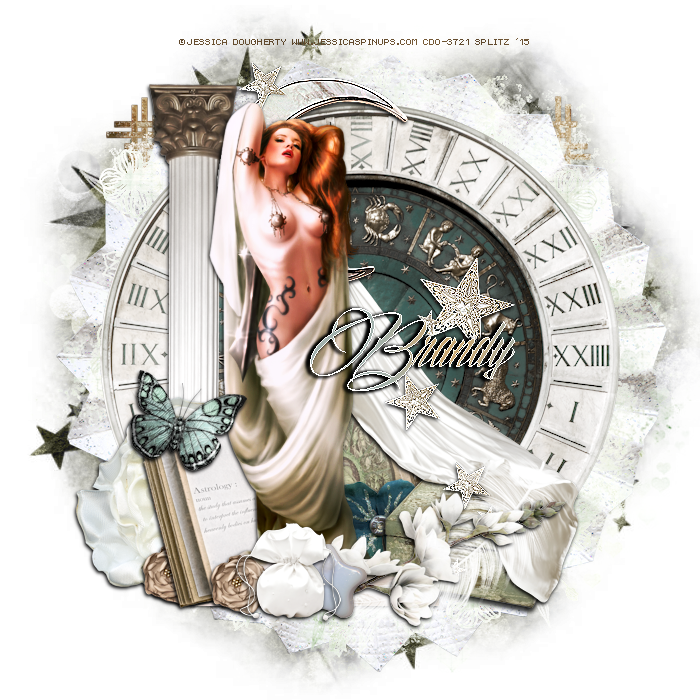
Constellation - CT PTU Tut - Written in the Stars by BLT Dezignz


I am using PSP X6 to create this tag. But any other program will work

Using a gorgeous kit by BLT Dezignz named "Written in the Stars" - Available HERE

Beautiful art by Jessica Dougherty available HERE

I am using 2 Masks. One by Dee HERE (second from the top) and the second mask is by Me its #10  HERE
FTU Font Billion Stars

Filters
Harry's Filters 3.0
Xero Radiance

Don't forget your drop shadows

Here We Go!
Open new image 700 x 700. Make your mask, I used Paper  4, duplicate properties Burn. El Rosette resize by 60 c/p and place behind Mask. C/P your tube on to  center of canvas. El Bag resize by 5 c/p and place to the bottom by tube. El Book resize by 10 c/p and place towards left behind tube. Flower 5 resize by 25 c/p and place far left behind Book. Flower 6 resize by 10 c/p and place to the left by Bag, duplicate and place layer to farleft by Book. El Box resize by 10 c/p and place to the right behind tube. butterfly resize by 5 c/p andplace to the top of Book. Column resize by 20 c/p and place to the far left behind Flower 5. EL Star resize by 20 c/p and place to the right by Bag. Feather 1 resize by 20 c/p and place towards bottom right by Box. Flower 2 resize by 20 c/p and place by Feather. Flower 3 resize by 10 c/p and place to the bottom right between tube and Box. El Zodiac resize by 20 c/p and place to the back behind tube and elements. El Curtain resize by 20 c/p and place to the back left. Star Scatter resize by 20 c/p and place to the left over Curtain add a drop shadow then enhance edges. 
 Add your drop shadows to the other elements and tube. Merge Visible. Add your second mask I used Paper 8 for mine. I wanted my second  Mask to be dark so let go to:
 Effects - Harry's Filters 3.0
with the settings below:
Merge Visible Again!
Add Xero Radiance
Settings:
191, 185, 179, 91
Add your name, cr and license info
Save as PNG
Thanks for looking!
post signature

August 7, 2015

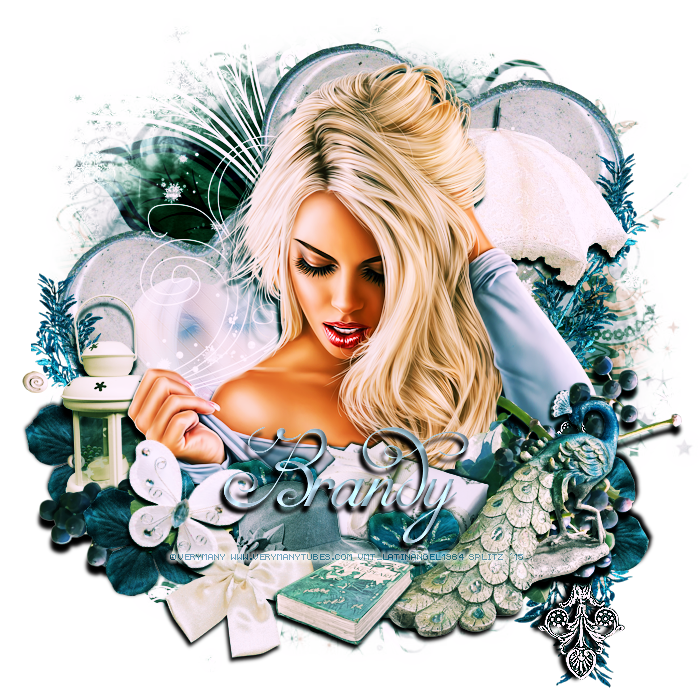
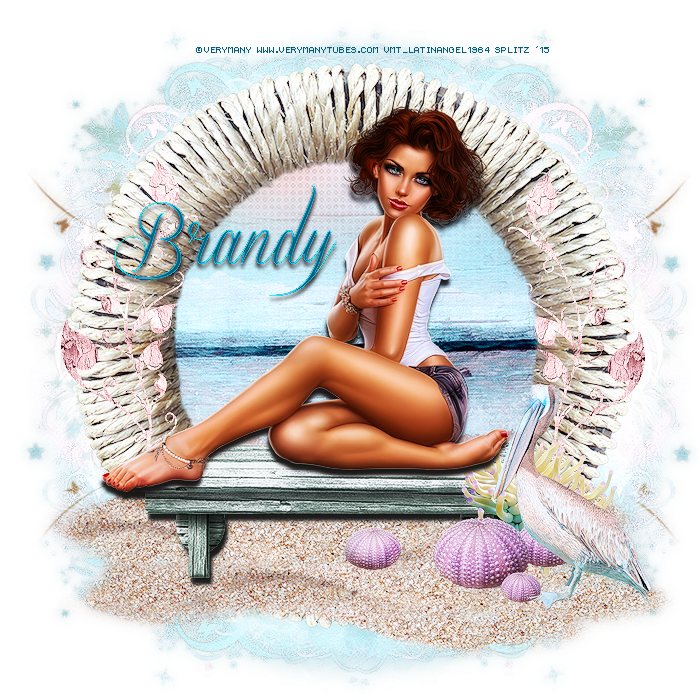
Sweet Surrender - CT PTU Tut - Swept Away by BLT Dezignz


I am using PSP X6 to create this tag!

Using a beautifully made kit by BLT Dezignz named "Swept Away". You can get this lovely kit HERE

Beautiful tube by Verymany. You need a license to use her art and you can get both HERE

Mask is #1 by me HERE

FTU Font Mirella Script Limited

Texture is by VIX HERE
(I used the blue texture)

No outside filters used

Dont forget your drop shadows

HERE WE GO!
Open new image 700 x 700.  Close up of tube resize as needed c/p onto canvas. El Grapes resize by 15 c/p to far left behind tube, duplicate this layer flip horizontal and place to the right. Frame 2 resize by 30 c/p behind Tube El Gift resize by 10 c/p to the bottom right in front of Grapes. El Lantern and Umbrella resize by 10, c/p and place lantern to far left then umbrella to far right. El Branch resize by 20 c/p to the bottom left by grapes, flip horizontal and place to the bottom right underneath Gift. El Book resize by 5 c/p and place to the left by Gift. EL Branch 2 resize by 15, then Rotate Right. C/p and place to the far right behind graps but make sure some of if it is peaking from the bottom. erase the top of the Branch 2. El Hat resize by 10 c/p and place by Book. El Peacock resize by 10 c/p and place to the far right by Gift. El Butterfly resize by 10, free rotate right 20,  c/p and place to the bottom left by hat. ZFlower 6 resize by 20 c/p and place to the far left behind Lantern, duplicate this layer twice and scatter around bottom. Go back to Heart Frame, magic Wand click inside open Heart, expand by 10, c/p tube close up, arrange as you wish, selectiosn invert delete..DO NO DESELECT. . Take your texture then go to Adjust - Hue Saturation - Colorize with these settings:
144 and 126. Now c/p texture behind frame, selections, delete now deselect. On closeup tube layer copy Gaussian Blur 6.0 then go to Properties screen on original layer properties softlight. As always you can change it up and play around with the settings as you wish.  Going back to Branch 2 resize smaller, then Rotate Left. C/P  and place to the far left of Frame, duplicate flip horizontal and place to the far right of Frame. El Flower 7 resize by 10 c/p and place between Gift and Book duplicate and place to the left behind Hat. El Dangle resize by 10, c/p and place to the far right behind Grapes but make sure it is showing at the bottom and then Enhance Edges. El Swirl resize by 15 c/p and place to the left behind tube.  El Cloud resize by 25 c/p and place over Open Heart side of Frame. Last El Bow resize by 25 c/p and place to the bottom left by Hat. 
Merge Visible if you are happy with it. Add your Mask I used Paper 11 for mine. Duplicate your mask, gaussian blur then go to properties - burn lower opacity!
Merge visible again. FGo to Photo Effects - Time Machine Cross Processing Intensity 48
Add your name, CR and Licene save as PNG!
Thanks or looking!


post signature

August 2, 2015

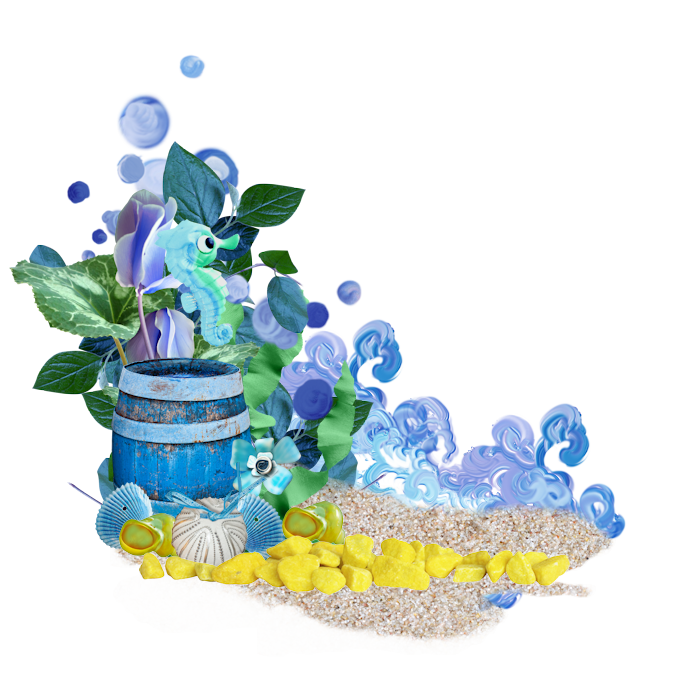
CT Tags and Cluster Freebies - PTU Tropical Splash by BLT Dezignz


CT Freebie Clusters made using PTU kit by BLT Dezignz
Tropical Splash
Scrap Kit is available HERE

Cluster Preview


Cluster 1
Right Click and Save
PNG

Tag I made using this Cluster


Cluster 2
Right Click and Save
PNG


Tag I made using Cluster 2


post signature

July 24, 2015

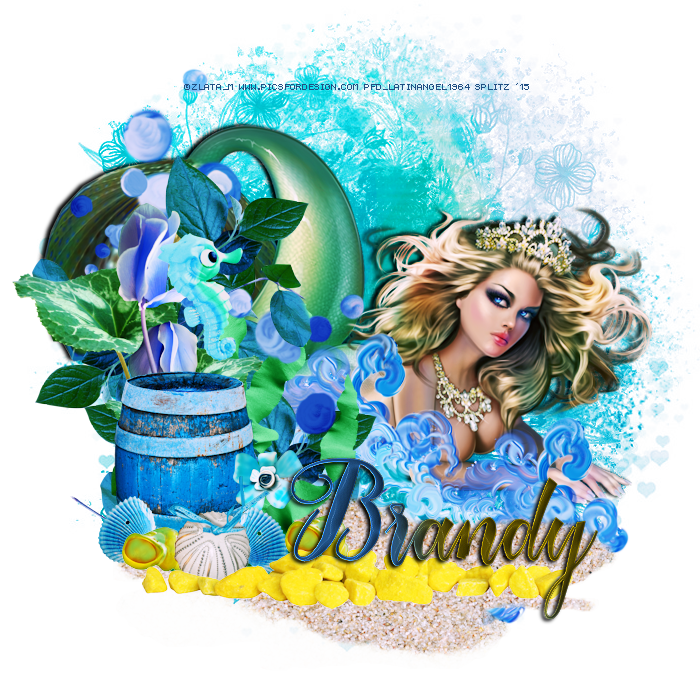
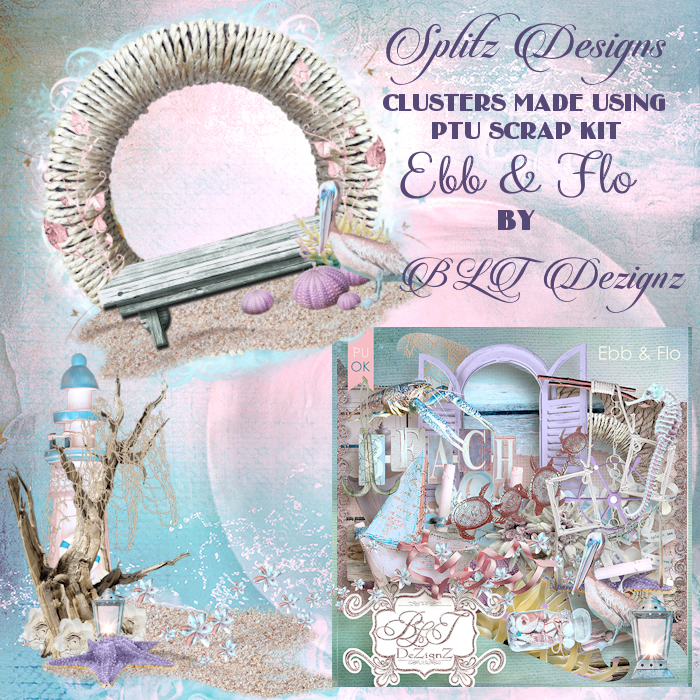
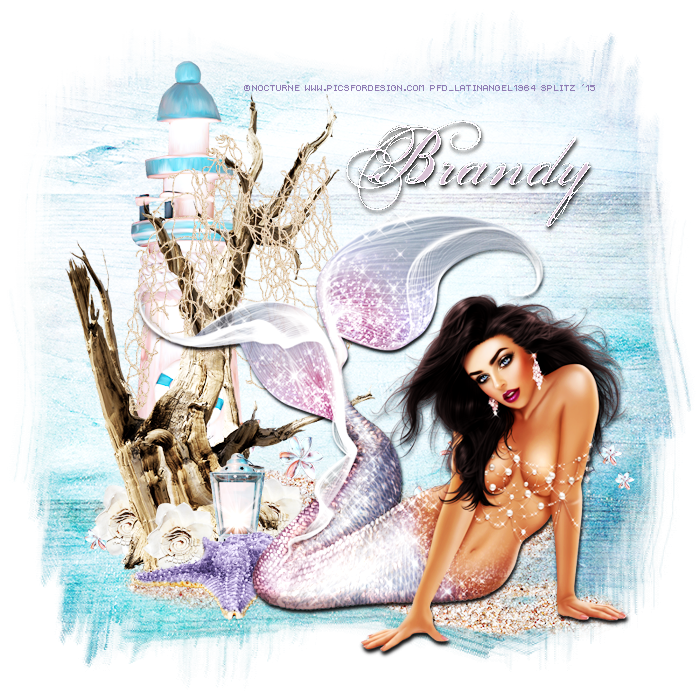
CT Tags and Cluster Freebies - PTU Ebb and Flo by BLT Dezignz


Clusters and CT tags made using a lovely new kit by BLT Dezignz named Ebb and Flo
Made in beautiful colors of blues, pinks, purples.
You can get this beautiful kit HERE and HERE
CT Tags made also using the work of Verymany and Nocturne

PREVIEW


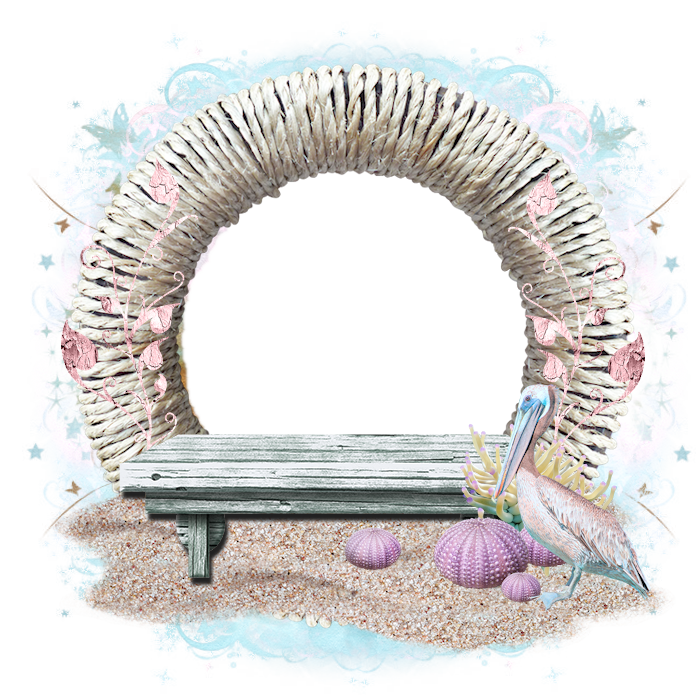
Cluster 1
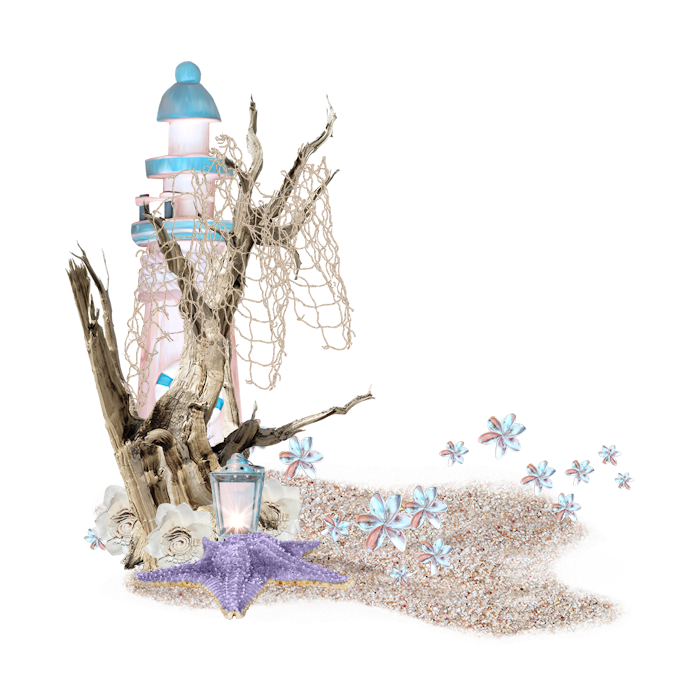
Right click and save


Cluster 2


How I used the clusters


Happy Snagging!

post signature


July 16, 2015

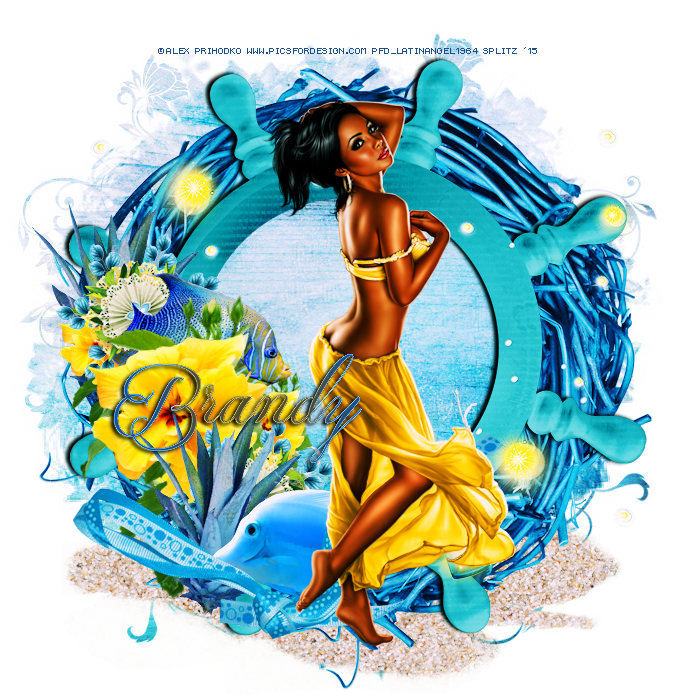
Endless Summer -- CT PTU Tut - Salt Life - BLT Dezignz


I Used PSP X6 to create this tag.

I am using a gorgeous kit by BLT Dezigns named Salt  Life - Available HERE for purchase. 

Using the lovely art of Verymany. You need a license to use her work and you can get both HERE

The mask I used I have had for some time and I dont remember where I got it from. It is MC #6. If this is your mask please let me know so I can give proper credit.

Font is  FTU Quickier Demo 
No outside filters used
Do Not Forget Your Drop Shadows
HERE WE GO!
Open new image 700 x 700. resize tube by 47, c/p onto canvas. El Buoy resize by 45 c/p place behind tube. El Sand resize by 20 c/pp and place underneath tube. El Flower 5 resize by 10 c/p and place towards bottom right side of Buoy, duplicate the layer and place behind right side of Buoy, repeat this same step for left side. Flower 1 resize by 5 c/p and place left side behind Buoy, duplicate flip horizontal and place to the right behind Buoy. El Flower  6 resize by 5 and repeat above steps for this Element.  El CLock resize by 15 free rotate left 15, c/p and place to the bottom left by tube. El FLower 8 resize by 25 Rotate Left, c/p and place to the left side of Frame duplicate flip horizontal and place to the right side of Buoy behind Chair.  El Chair resize by 12 c/p and place to the right of Buoy behind Flower. El Vines resize by 20 c/p and place in front ob Buoy towards Left. Ribbin 2 resize by 20 c/p and place to the top in front of Vines, Duplicate Ribbon layer, move that layer to the back of Vines. Take your eraser tool round 5. go to the FIRST Ribbon layer and just erase a little bit of the top Ribbon to make it look like it is over the Vines. El Lantern resize by 15 c/p and place to the left by tube. Add your drop shadows!. For inside Buoy I used Paper p resized by 10. Add your mask I used Paper 10, duplicated twice. 
Merge your tag. For my finished touch I added
Photo Effects - Time machine - 1950 - Cross Process and lowered Intensity to 40
For name I used Font Style Bold, duplicated the name, added a drop shadow and did Enhance Edges. 
Add your Name, CR and license info and Save as PNG!
Thanks for looking!
post signature

July 2, 2015

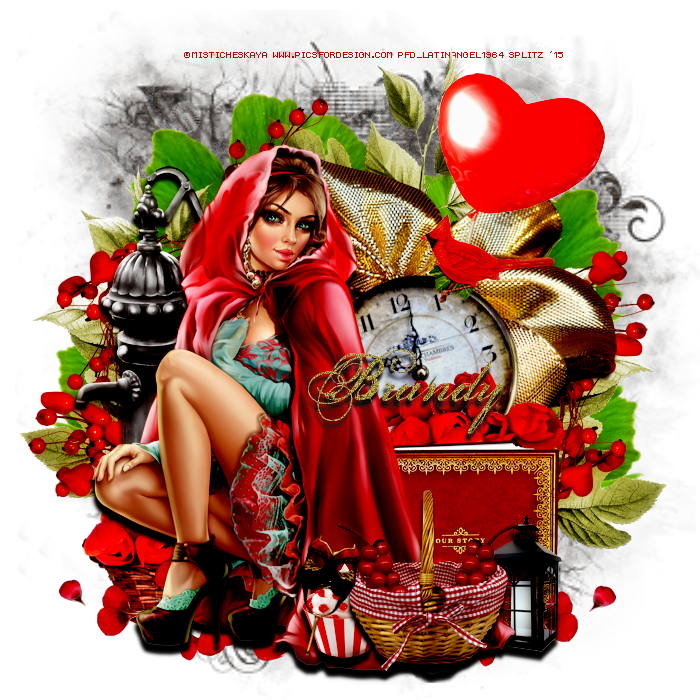
Red - Ct PTU Tut Crimson Cloak by BLT Dezignz


Fabulous kit by BLT DeZignz named Crimson Cloak

Beautiful work of Vika! you must have a license to use her art and you can get both HERE
Mask is by Moonbeams and Spiderwebs
HERE
Filters
DSB Bright Noise for Name
Do Not Forget your Drop Shadows
Here We Go!
Open new image 700 x 700, Resize your tube to 35 %. c/p onto canvas towards left. El Book resize to 10 c/p and place behind tube towards right. El Basket resize to 10 c/p and place by tube to the right. El Flower 11 resize to 10 c/p and place behind book duplicate this layer flip horizontal and place to the bottom left behind tube. El Berries resize to 10 c/p and place over Basket to the right, duplicate flip horizontal and place to the left over Basket, merge down these 2 layers. take your eraser tool. It helps to enlarge your Image so you can see what you are erasing, and erase the bottom part of the Berries to make it look like they are in the basket. El Lantern resize to 5 c/p and place to the bottom right by basket. EL Bow 1 resize to 25 c/p and place behind tube towards middle right. El Branch resize to 20 c/p and place behind Bow towards right. Duplicate flip horizontal and place to the left duplicate again and place towards middle. El Leaves resize to 10 and follow the same steps as above for Branch. El Waterpump resize to 10 c/p and place to the left behind tube. El Frame Accent resize to about 10 and place two layers toward back behind leaves and place them accordingly. EL Cupcake resize to 5 c/p and place to the bottom. El Clock resize to 10 free rotate 15.0 Left c/p and place behind tube towards middle. El Balloon resize to 25 c/p and place behind Bow to the right. El Petals resize to 10, I added two layers to the bottom. El Bird resize to 10 c/p and place by clock. 
Merge your tag then duplicate. On Copy guassian blur 6.0 got to Properties BURN lower Opacity to 40 I also added some Photo Effects, film and filters. 
Add your name, copy write andlicense info
Save as PNG
Thanks for looking!
post signature

June 22, 2015

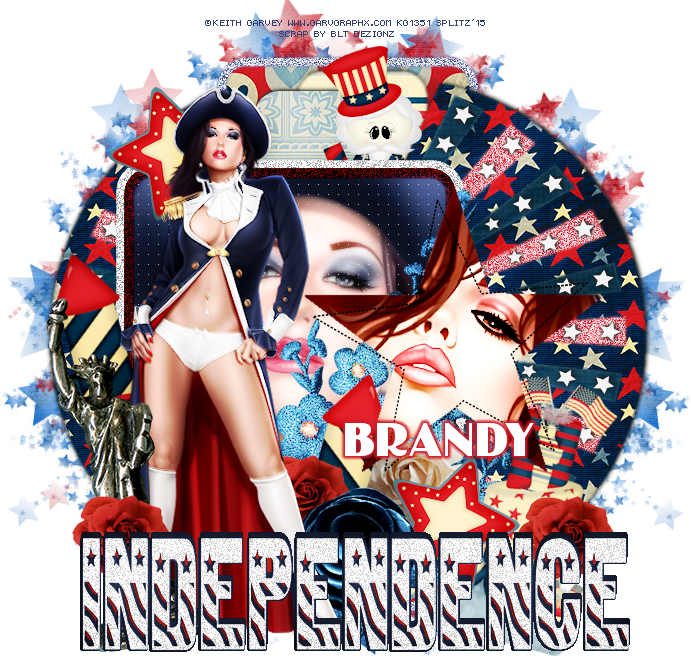
Independence - CT PTU Tut American Pride by BLT Dezignz


I am using an adorable kit by BLT Dezignz named American Pride.
you can get her kits HERE

Using the awesome work of Keith Garvey - You need a license to use his work and you can get both HERE

Mask is by Dee. I am using one of her Star Mask #2 HERE. Template also by Dee. I am using Indepedence HERE


FTU Font Asuska Caps

Filters
Zero Radiance
Penta Color Dot
DSB Flux - Bright Noise

Don Not Forget Your Drop Shadows

Here We Go!

Open template, duplicate close off original, delete credits. c/p tube of choice and place towards left side of template. you can close off your tube layer for now. Everyone has their way of working with templates, this is my way that I learned, you may have an easier one..lol...so do what works for you! Also delete Template layers as you finish working with them that way you do no have so many layers.. 
1. For the 2 Fan Shape layers, magic wand, click on shape c/p Paper 5, Selections, Invert Hit delete, Deselect. Go to Effects - Vanderlee Unplugged with these settings
1,50, 50, 10, 50
Transparency: 49
HUE
2. For the left dark blue strips repeat same steps as above this time using Paper 19 - Go to Effects: DSB Flux - Bright Noise Light 100
3. Left White Stars leave as is just add Drop Shadow
4. For the light blue strip players follow above steps using paper 10
5. Now Follow the same above steps with the right side strip layers
layers with the same Papers.
6. Middle dark blue strip - same steps as above using Paper 1 Add Drop Shadow
7. Middle white strip - same steps as above using Paper 4 Add Drop Shadow
8. Middle light blue strip - same steps as above using Paper 2 - Add Drop Shadow
9. White middle Square - DSB Flux Bright Noise - Mixed 100
10. Middle red square - Adjust - Hue Saturation - Hue 0, Sat: 237
Bright Noise Darker 100
11. Delete middle red circle.
12. Middle blue square - Take magic wand, feather 1 click on square, take close up of your tube, c/p selections invert delete deselect. Duplicate on copy guassian blur 3.0 properties screen on original layer overlay go to Effects - Penta Color Dot settings:
230, 10, 1250, 250, 250
13. On Star layer, i chose another closeup, Follow steps as in 12 except do not duplicate yet.  Go to Photo Effect - Vivid Filter Color #8a0000
Duplicate on copy go to Properties: Screen.
14. WA - Be as creative as you want!
I used the following elements to decorate my tag:
Flower 1, Cake, Flower 3 and 5, Star Liberty and Uncle Sam1. be as creative as you want or you can use my tag as reference. If you are happy with your tag Merge Visible. I added a touch of radiance to my merged tag. Add your mask I am using paper 19 for mine, duplicated mask twice and changed the colors on two layers by going to Adjust-Hue-Saturation. 
Add you name, CR and License info.
Save as PNG!

Thanks for looking!
post signature