Pages

Showing posts with label Dreas Creations. Show all posts

January 10, 2016

Love You Madly - CT PTU Tut - Sweet on You - Drea's Creations


I am using PSP X6 to create this tag but any other version will work.

Using a beautifully made kit kit by Drea's Designs named Sweet On You
Go HERE

Using the fabulous work of Jose Cano. This tube is available at his store HERE

No Outisde filters used

FTU Font Niagara Solid

Do Not Forget Your Drop Shadows!

HERE WE GO!!


Open new image 700 x700, c/p tube of choice onto canvas. Take El 61 resize by 90 c/p and place behind tube. El 64 resize by 50 c/p and place towards top right behind tube. El 101 resize by 50 c/p and place towards bottom left behind tube, duplicate flip horizontal and place towards right. El 40 resize by 50 c/p and place right behind tube. . El 99 and 100 resize by 30 c/p and place to the bottom left. El 24 resize by 25 c/p and place by Wine Bottle. El 100 resize by 25 c/p and place by El 24. El 23 resize by 50 c/p and place towards middle left. El 30 resize by 40 c/p and place over El 23. El 33 resize by 25 c/p and place over El 30, add your drop shadow and then enhance edges. Take your eraser tool and erase the top part of the ring, you want to make it look like its entwined with the bow. El 80 resize by 70 c/p and place towards bottom. El 128 resize by 70 b/p and place towards left side of tube. El 49 resize by 40 c/p place to the bottom right. El 104 resize by 15, free rotate right 30 c/p and place by middle of tube towards right, add drop shadow and enhance edges. Duplicate this layer, flip horizontal and place that layer by Wine Bottle.  Last El 134 sparkles resized by 60 and El 77, i used as mu mask duplicated twice.  Add drop shadows! merrge your tag. Go to Effects: Photo Effects: Film & Filters: Enhanced Red then Custom: Warming Density 10. As always remember you can play around with the filters. 
For the name, i added a drop shadow, then bevel with filter color #ffa4a4 and then enhance edges and duplicated thename layer. Merge visible again
Add your license info, copy write and save as PNG!

October 18, 2015

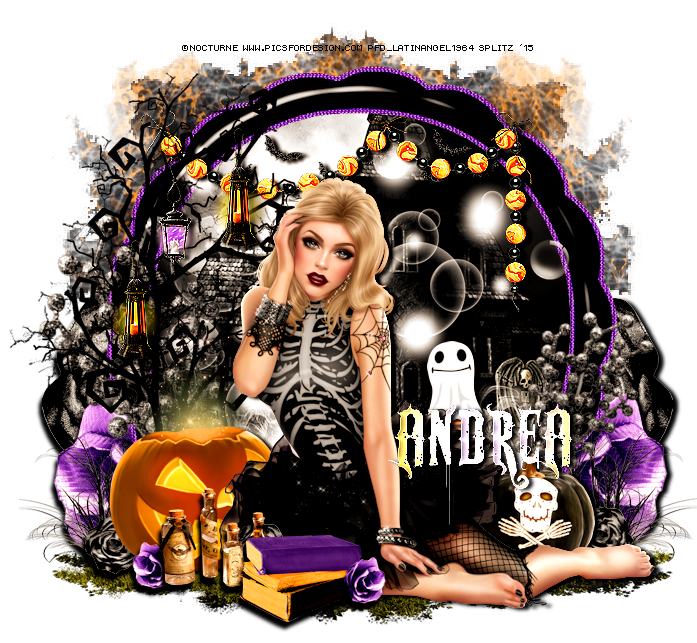
Trick or Treat - CT PTU Tut - Halloween Bash by Drea's Creations


I used PSP X6 to create this tag. 

Using a frightfully fun new kit by Drea's Creations named "Halloween Bash" You can check out her blog HERE

Beautiful art by Nocturne available HERE for purchase

Mask is by me and you can just right click and save


FTU Font VTKS SABONETE

Filters
DSB Flux Bright Noise

Don't Forget Your Drop Shadows


HERE WE GO!


Open new image 700 x 700, I resized my tube choice by 40, c/p onto canvas. El 155 Frame resize by 60 c/p and place behind tube. El 116 grass resize by 70 c/p and place underneath Tube, duplicate Grass flip horizontal and just move a little bit downward. Magic Wand click inside Frame, slections Expand by 10, take El 155 black Grass resize by 60 c/p and place inside frame, move downward, selections invert delete. Paper 27 resize by 80 c/p and place inside Frame, HIT DELETE, deselect. 
Duplicate paper layer, Go to Properties, Overlay and Lower Opacity as you would like. El 124 Grave marker resize by 20 c/p and place to the far bottom fright inside frame. Repeat same steps as aboe with El 86 Ghostie. El 126 Bats resize by 50 c/p and place to the to behind Frame but over paper layer, add some bright noise and drop shadow. El 19 Candy Garland resize by 50, c/p and place to the top of Frame, add a drop shadow then enhance edges. El 91 Purple FLower resize by 20 c/p and place to bottom far left behind frame, duplicate, flip horizontal and place to far right. El 90 Black Flower resize by 20 and c/p and place behind frame just a little above Purple Flower, duplicate layer flip horizontal and place to far right as well. Elements 28 and 42 resize by 20 c/p and place to the left by tube. El 115 Skull/Grass resize by 60 c/p and again place by bottom far right in front of Purple Flower Layer, duplicate flip horizontal and to bottom far left. El 104 Blck Pumpkin resize by 20 c/p and place to far right behind tube layer. El 114 Tree resize by 60 c/p and place to the left side of Frame. El 50 Decor resize by 60, free rotate 25 Left c.p and place behind Tree go back to El 50 resize smaller, free rotate 25 Right c/p and place to the bottom far right. . El 41 and 112 Lanterns, resize by 20 c/p and place over tree Layer as you wish, Enhance Edges then drop shadows.  I went back to my Flower Elements 90 and 91 resized them smaller by 30 and c/p and place towards bottom and just sprinkle some of the layers of the flowers around. I added El 141 Bubbles towards background. Finish adding your drop shadows!. Merge your tag!. For the Mask I used Paper 17> I duplicated the mask 3 times, merge down, duplicate again flip horizontal. On your Merge tag go to Effects: Phot Effects: Film and Filters. My filter color is #8a5e51 density 10. 
Add your name, CR and License info!

Save as PNG!
Thanks for looking!

September 20, 2015

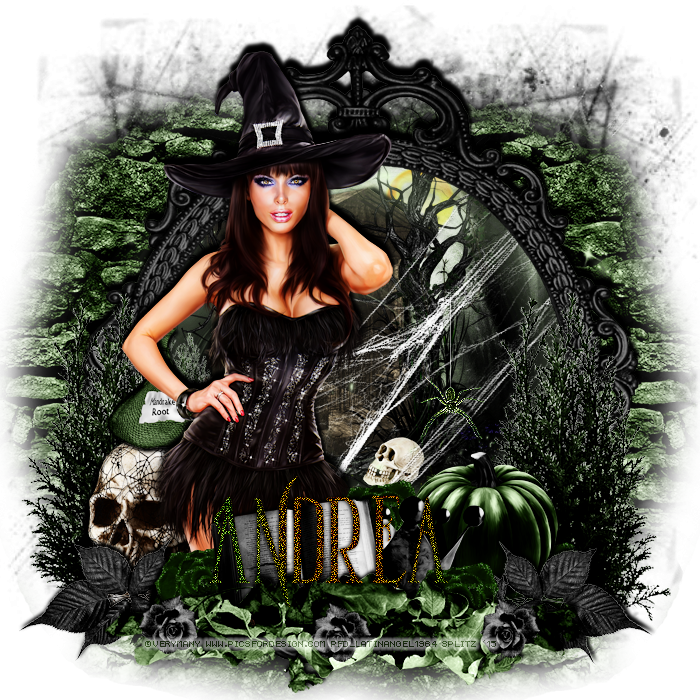
Season of the Witch - CT PTU Tut - Spider Queen by Drea's Creations


I am using PSP X6 but any other version will work!

I am using an Exclusive kit "Spider Queen". This beautiful and fun kit is available EXCLUSIVELY at the Xerac Store . You can get it HERE

Awesome tube by VM available HERE

Mask is #112 by Trese HERE

FTU Font Parseltongue

Filters
DSB Flux Bright Noise for Name
Aged Newspaper

Here we go!


Open image 700 x 700, resize tube to 50 c/p onto canvas. EL 77 Frame resize by 80 c/p and place behind tube. Close off tube layer for now! El 55 Background resize by 80 c/p and place towards left side behind frame, duplicate, flip horizontal and lace towards right side behind frame. Magic Wand click inside frame, selections, modify, expand by 6, Take Paper 3 resize by 60  c/p and place behind Frame, selections, invert, delete, selections none.  El 39 Tree resize by 60 c/p and place towards middle right inside Frame. El 42 Grass resize by 60 c/p and place towards bottom of tree. El 56 Cobblestone ground resize by 60 c/p and place underneath Tree and Grass, erase anything showing outside your Frame. El 38 Mausoleum resize by 40 flip horizontal and place behind your Tree, then go to Effects: Artistic - Aged Newspaper - Aged amount 25. Go Back to Tree layer duplicate flip horizontal and place to the far left.  El 40 Bush resize by 20 c/p and place to far left behind Tree layer. El 58 Yellow Moon resize by 20 c/p and place to the right behind Mausoleum. El 71 Misty Swirl resize by 70 c/p inside your Frame. Open up your tube layer now move your tube slightly more to the left. El 80 Leaves resize by 80 c/p and place to the bottom of your tube. EL 18 Skull resize by 30, flip horizontal and place towards bottom left behind tube. El 2 resize by 30 c/p and place by bottom of tube. El 50 Green Rose resize by 15 c/p and place to the left by book. El 6 Mandrake Root resize by 25 c/p and place on top of Skull. El 23 Crown and EL 52 Pumpkin resize by 25 c/p  to the bottom right. Go back to El 50, duplicate 3 times and scattter at the bottom. El 51 Black Rose resize by 10 c/p and place towards bottom left in front of Leaves, duplicate twice and  scatter to two layers across, El 49 Black Leaves resize by 30, cp and place to far right, duplicate layer and place to far left. zEl 69 Web, Enhance Edges, free roate Left 25. c/p and place inside frame and erase any part of the web showing outside frame. Duplicate Web then Merge Down. El 66 Spider, enhances Edges c/p and place over Web, then take your eraser tool and erase as much of the line as you can. Last go back to El 40 Bush, this time resize tby 50 c/p and place one to far left in front of Frame, duplicate and place to far right. Add your drop shadows. Merge your tag!. Duplicate tag, go to Properties: Soft Light and lower Opacity as you like I did mine to 69. Add your License, CR and Name
Merge Visible, save as PNG!

Thanks for looking!

August 19, 2015

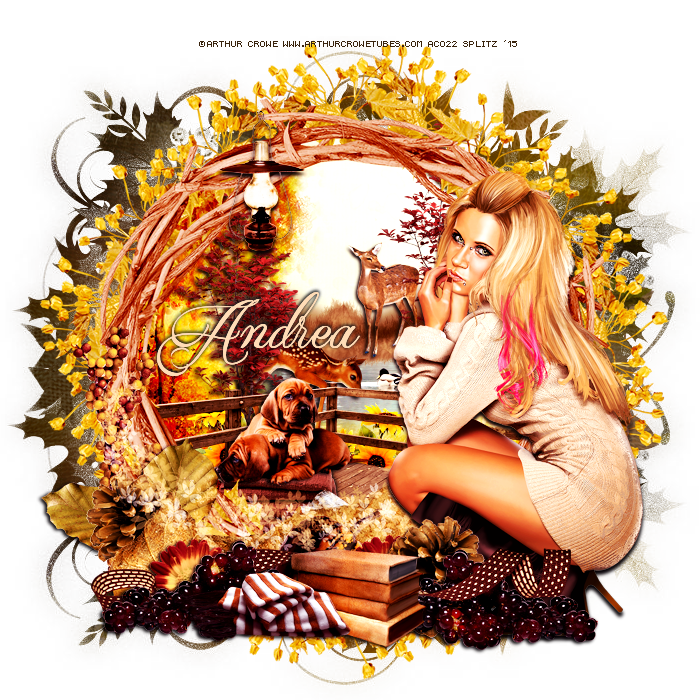
Indian Summer - CT PTU Tut Fall by the Fireside by Drea's Creations

I am using PSP X6 to create this tag but any other version will work. 
Beautiful kit by Drea's Creations named "Fall by the Fireside" available HERE
Gorgeous art by Arthur Crowe. You need alicense to use his work and you can get both HERE
Beautiful mask by Dee. I used # 2 from top HERE
FTU Font Qaskin
No Outside Filters Used
Here we Go!
Open New Image 700 x 700, resize tube by 50 c/p onto canvas. C/P tube of choice onto canvas. El 128 Leaf  Frame resize by 80 c/p and lace behind tube. Magic Wand, click inside frame expand by 10, Paper 13 resize by 70 c/p onto frame. Selections invert delete. Duplicate Paper layer, on copy go to properties: Burn and lower Opacity as you wish. Merge down Paper Layers. Move your tube to far right, lets work with inside of Frame. 
El 64 Fence Corner resize by 50 c/p place towards bottom inside frame. Erase any part of the Fence that is showing outside Frame. El 40 Tree resize by 40 c/p and place towards left behind Fence, duplicate and place towards right. El 15 Sunflowers resize by 20 c/p and place behind Fence towards bottom, duplicate flip horizontal and place by bottom as well. EL 57 Puppies resize by 20 c/p and place on Fence Floor. El 90 Blankets resize by 20 cp and place by Puppies. El 49 Fawn resize by 20 c/p and place behind Tree towards Left. El 47 Grass resize by 30 c/p and place towards back behind tree layers, middle of frame. El 59 Water/Ducks resize by 35 c.p and place between El 47 and Fawn. El 48 Deer resize by 15 c/p and place on top by El 47 Grass. El 34 Firewood resize by 20 c/p and place towards bottom by Fence floor. 
Working out side of Frame. El 6 Leaf c/p and place towards bottom of frame behind tube. El 105 Grapes resize by 40 c/p and place towards left on top of Leaf. El 89 Scarf resize by 25 and place by Grapes. EL 23 Pinecone resize by 25 c/p and place towards bottom behind Leaf. El 97 Pumkin resize by 20 c/p and place by Grapes towards right. El 25 Berries resize by 50 c/p andplace toards left side of Frame. El 17 resize by 20 c/p and place behind Grapes to the left. El 112 Books resize by 20 c/p and place by Scarp. Go back to pinecone layer duplicate flip horizontal and place behind Books towards right. El 75 Lantern resize by 20 c/p and place on top of Frame towards left. El 1 Leaf resize by 35 c/p and place to far left of Frame. Add your accents I added the Ribbon and Scatter. 
Add your drop shadows!
MergeVisible. Go to Photo Effects - Film and Filters: Filter Color #d07fa0.
Duplicate tag, on Copy Properties: Overlay lower Opacity to 44
Add you mask. I used Paper 11 for mine! I Duplicated my Maks then Flip Horizontal. 
Add your Name, License and Copy Write info
Save as PNG!
thanks for Looking!
post signature

July 26, 2015

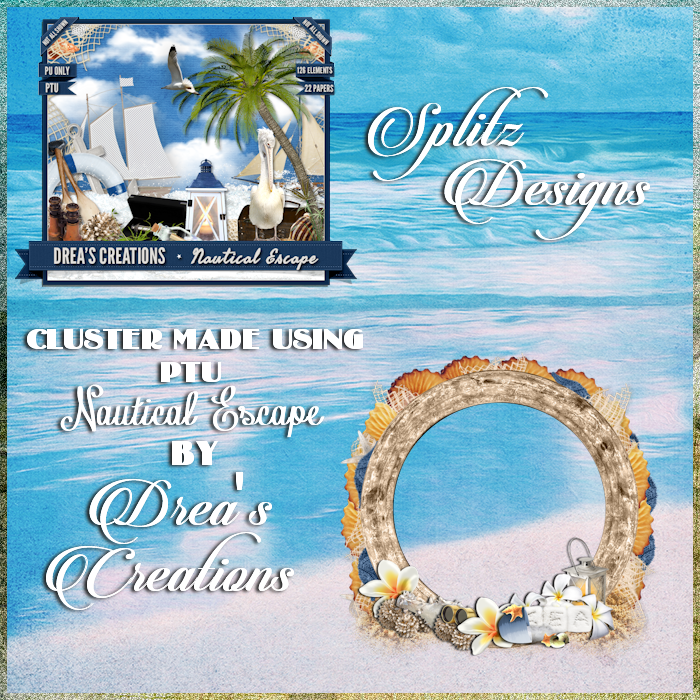
Cluster Freebie - PTU Nautical Escape by Drea's Creations


Was playing around in PSP and I ended up making this cluster frame using Drea's beautiful kit "Nautical Escape"

You can get this lovely kit in any of her stores. So check out her Blog
HERE

Preview of Cluster


Cluster
Right Click and Save!


Happy Snagging!


post signature

July 25, 2015

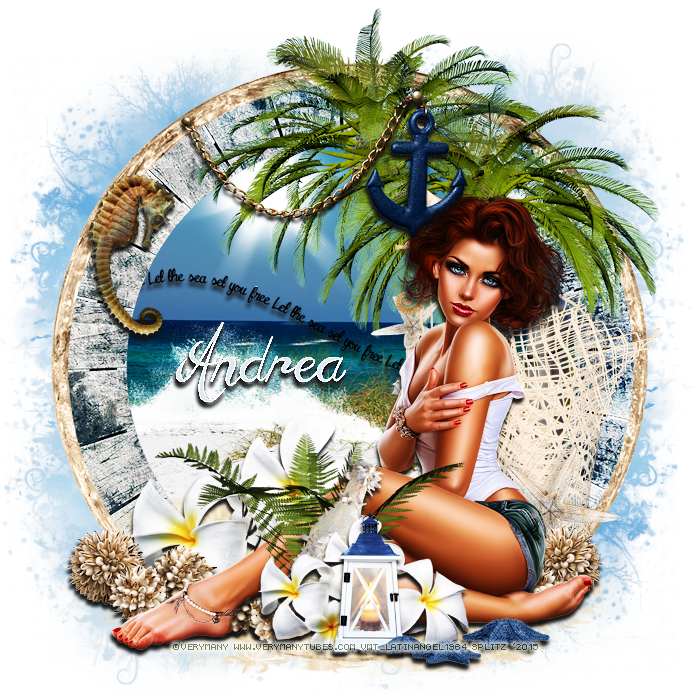
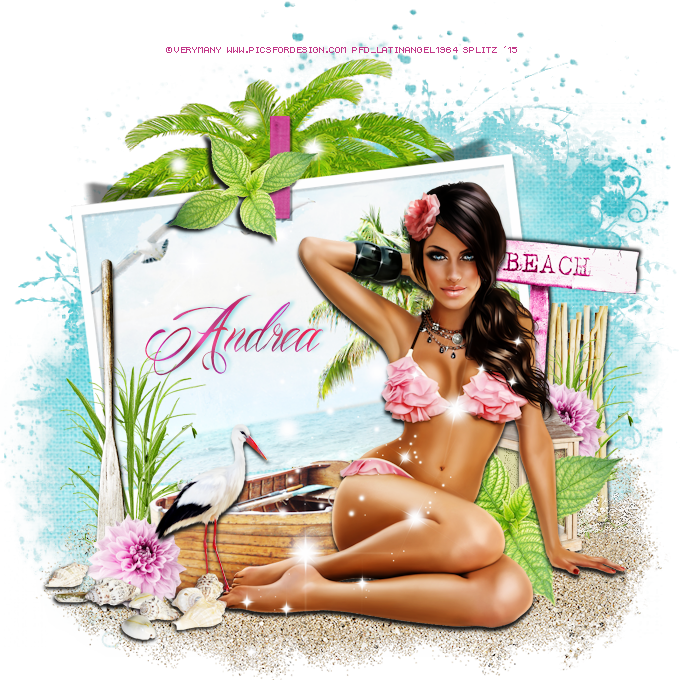
By the Sea - CT PTU TUT - Nautical Escape by Drea's Creations


I used PSP X6 to create this tag.

Using a beautifully done kit by Drea's Creations named nautical Escape. Go HERE


Using the lovely work of Verymany. you need a license to use her art and you can get that HERE

Mask is #66 from Moons and Spiderwebs HERE

FTU Font Seaside Heights

No Outside filters used.

Don't forget your drop shadows

HERE WE GO!


Open New Image 700 x 700. Resize tube by 45 c/p onto canvas. El 89 Sand resize by 80 c/p, place underneath tube. Frames 122 and 123 resize by 75 c/p Frame 122 behind tube and Frame 123 behind frame 122 then Merge Down.  Magic Wand click inside Frame, modify expand by 10. Take Paper 20 resize by 60 c/p and place inside Frame, selections invert delete., deslect.  El 13 Anchor Chain resize by 40 c/p and place to the top of Frames.  El 60 FLowers resize by 60 c/p to the bottom left behind tube, reize El 60 again by 60 c/p and place to the bottom front of tube. El 40 Fern resize by 40 c/p and place to the middle in front of tube. El 25 resize by 35 Rotate Right , c/p and place in front of Fern. El 21 Netting, resize by 40 Rotate Left c/p and place to the far left behind tube layer. El 50 Lantern resize by 25 c/p and place in front of Flowers to the bottom. El 56Shells resize by 25 c/p and place to the bottom left behind tube layer, duplicate twice and move the two layers across the bottom. El 23 and 24 resize by 60 c/p and place behind each other to the right, behind tube layer. 
El 97 Starfish resize by 25 c/p and place to the bottom right by tube. El 95 Sea Horse resize by 25 c/p and place to the left side of Frame. El 104 resize by 50 c/p and place to the top left slightly underneath Frame. El 118 resize by 40 c/p and place towards middle left of Paper layer. El 114 Word Art, resize by 60, add a drop shadow then enhance edges and place in the middle behind Frame. Add your drop shadows. Merge tag. Add your mask I used Paper 8 for mine. Merge again. Duplicate tag, go to Properties: Overlay and lower opacity to to about 55.

Add your name, Cr and license info and you are done!
Save as PNG!

Thanks for looking!

post signature

July 10, 2015

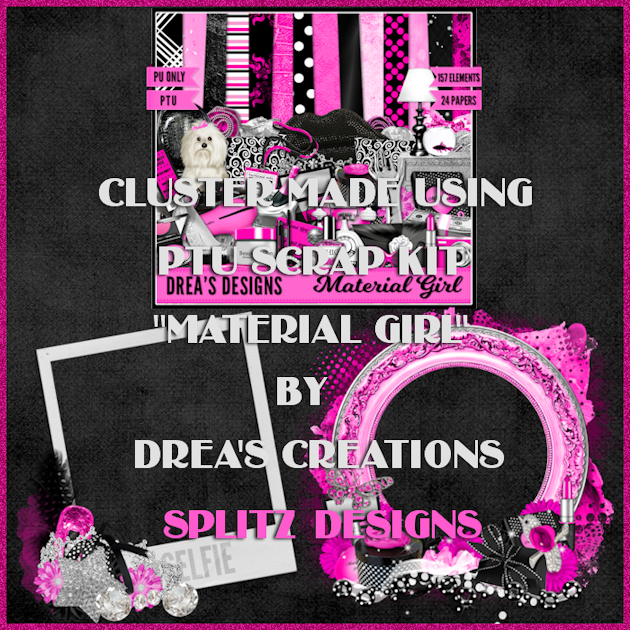
Material Girl by Drea's Creations - Freebie Clusters and CT Tags

Drea's Creations has a real beautiful, girly-girl and lets not forget Hot Pink kit out named Material Girl!
157 Unique Elements and 24 lovely Papers! A must have for all your Girly-Girl tags and projects!
Visit Drea's Creations HERE
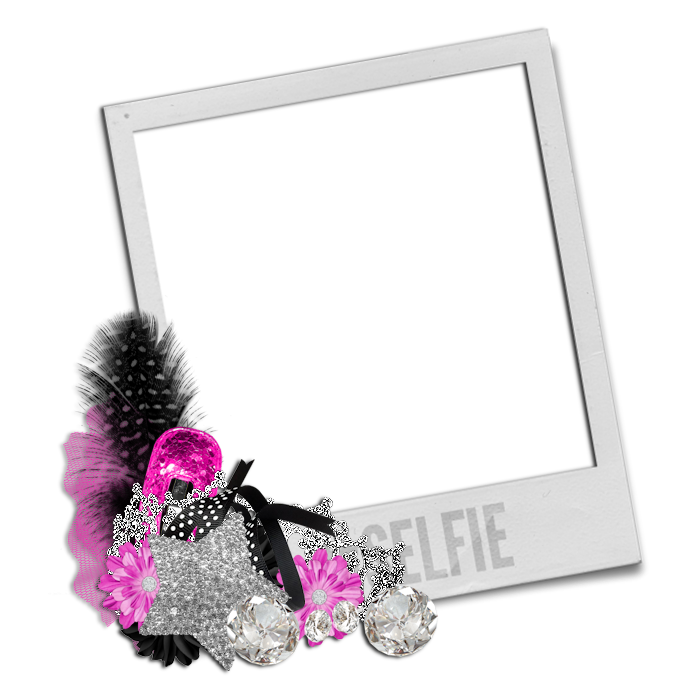
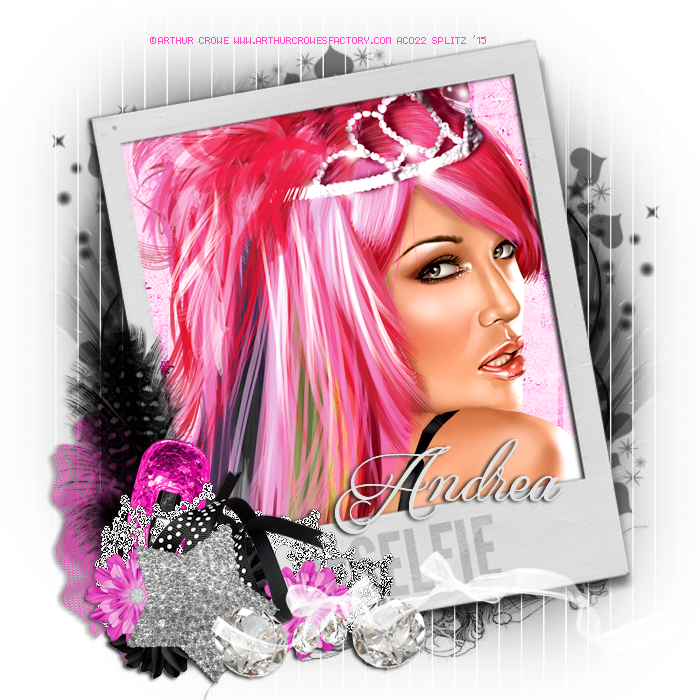
I made 2 Clusters using this beauty!

Clusters in in PNG Format. Just right click and save!


Here are 2 tags I made using the Clusters. I am using the gorgeous work of Arthur Crowe and Verymany. You need a a license to use their work and you can get it at the stores. 


post signature

July 5, 2015

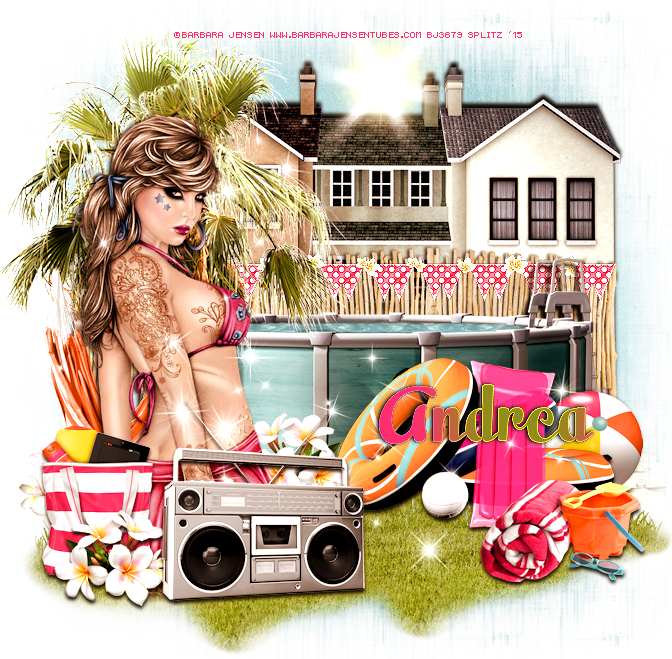
Sun Kissed - CT PTU "Pool Party" by Drea's Creations


Fun Packed NEW kit by Drea's Creations named Pool Party!
Drea's Creations HERE

Fab Art by Barbara Jensen. you need a license to use her work and you can get both HERE

Mask #39 by Chelle HERE

FTU Font Milky Script


Open new image 700 x 700 resize tube by 75%, c/p onto canvas and place towards left. . El 37 Tree resize by 75 c/p and place behind Tube towards left.  El 30 Pool resize by 60 c/p and place towards middle of Canvas. El 61 Floaters resize by 50 c/p and place  towards right by Pool.  El 32 Ground resize to 80 c/p and place underneath Pool layer. Duplicate the layer, merge down. El 33 Grass resize by  60 c/p and place towards left side behind tube, duplicate layer and move towards right. El 53 BoomBox resize by 35 c/p and place in front of tube towards bottom. El 65 Bag resize by 25 c/p and place towards left behind tube. El 73 Beach ball resize by 15 c/p and place to the right behinf Floaters. El 18 Gate resize by 70 c/p andplace behind Pool but so that you can see it. El 26 Houses resize to 60 c/p and place behind Gate. El 47 Banner resize to 50 c/p and place on the border top of Gate. El 69 hammock  resize to 40 Flip Horizontal, c.p and place over Tree, behind Tube, take eraser tool and erase the handles on Hammock just enough so you do not see them. El 71 Beach accessories, resize by 30 c/p and place to far right by Floaters. El 44 resize by 20 c/p andplace to the bottom far right by Tube, I dsuplicated this later 2 more times and scattered thelayers around the tag. Last I added El 88 Sparkles resized them by 80 c/p and placed on tag. Add your drop shadows Merge Visible. Add your Mask I am using Paper 14. Duplicate Mask merge Down, Duplicate gain flip vertical, move that layer a little towards bottom.  El 94 Sun resize to 40 c/p and place over top of House in the middle. Merge Visible again. For the final touch I just added Photo Effect - Film and Filters - Vibrant Skin Tones - Filter Color #ddb9a5 - Density 25
I did this effect twice, second time at density 10,  that was my preference, you can always play around with the settings!Cop your tag.
Add you rname, CR and License Info
ou are done!
Save as pNG!

thanks for looking!


post signature

June 27, 2015

Bliss - CT PTU Tut Summer Breeze by Drea's Creations


I am using a beautiful summer kit by Drea's Creations named Summer Breeze

I love this tube by Verymany. You need a license to use her work and you can get both HERE

Mask is by MoonBeams and Spiderwebs #66 HERE

FTU Font Eutemia 1


Open new image 700 x 700 resize tube to 40 c/p tube onto canvas to the right. El 5 Leaf resize to 50 c/p and place in back  of tube towards right. El 91 Picture Frame resize to 80 c/p and place behind tube a little towards left. Paper 12 resize to 60 free rotate 10 left. magic wand click inside frame, c/p Paper, position to you liking, selections, expand by 3 invert, delete, deselect. El 85 Sand resize to 80 c/p and place underneath tube, duplicate bring that layer behind frame. El 17 Tree resize to 80 c/p and place towards back of frame to the middle. EL 73 resize to 70 c/p and place towards bottom right of frame.. . El 85 Gate resize to 40 c/p and place to the right behind frame showing, make sure it is showing abit. El 11 resize to 40 c/p and place in front of El 85 Gate. El 73 Boat resize to 50 c/p and place towards left  side of frame. El 16 resize to 20 c/p and place to far right duplicate and place to far left.  El 80 resize to 60 c/p and place to far left. El 14 resize to 20 c/p and place by Oar. EL 33 resize to 40 c/p and place to the left. El 76 resize to 30 c/p and place behind tube towards right.  El 20 Bird resize to 30 c/p and place to the left. El 88 resize to 50 c/p and place behind tube. GO back to El 5 Leafe, resize smaller and place towards top middle of Frame. Last El 36 resize to 50 c/p and place over tube, resize same element smaller and place by Tree in the background. Add your mask I am using Paper #9.  Duplicate mask, flip horizontal. Merge Visible. Duplicate tag on copy Properties: Soft Light lower opacity to 50.

Add your name, copy write and license info\Save as PNG!
Thanks for looking!
post signature

June 6, 2015

Sweet Days - CT PTU Tut - Strawberry Lemonade by Drea's Creations


Lovely and Summery Scrapkit by Drea's Creations named Strawberry Lemonade

Beautiful art by Alex Prihodko. You need a license to use his art and you can get both HERE

Mask is by Dee

Font is FTU Sverige

Filters
Xero Radiance

Dont forget your Drop SHadows 

HERE WE GO!
Open new image 700 x 700. C/P tube of choice onto canvas, add a drop shadow and close off tube layer for now. 
El 163 Double Frames resize to 80 c/p, add drop shadow and place onto center of canvas.  Paper 21 resize to 60 Free Rotate Left 20. Take magic wand and click on top frame expand by 5. Selections Invert Delete, Deselect. Take Paper 21 resize to 60 Free Rotate Right 20, Magic Wand, expand by 5 click inside bottom frame c/p Paper 20, Selections, Invert Delete, Deselect
Duplicate each of the Paper layers, Properties: Burn.
El 60 Brick Ground, resize to 95 c/p and place to bottom underneath tube, duplicate that layer Merge Down. El 117 Leaves resize to 70 c/p and place to the left behind tube duplicate this layer, flip horizontal  c/p and place to the right behind Frame . El 110 resize to 50 c.p and place to the right behind Frame, duplicate this layer flip horizontal and place adjacent to the first layer. El 68 resize to 30 c/p and place to the left behind tube. El 2 Basket of Strawberries resize to 20 c/p and place to the middle right behind tube. El 31 Teapot resize to 20 c/p and place in front by tube. El 66 Lantern resize to 20 c/p and place to the bottom. El 66 Netting resize to 60 c/p and place on top behind Frame.  El 58 Gate resize to 60 c/p and place towards top right of Bottom Frame.  Duplicate this layer flip horizontal and place to to top right of bottom Frame. EL 116 Leaves Free Rotate right 30, resize to 40 c/p and place towards bottom right of Frame. El 28 resize to 20 c/p and place behind Lantern.El 20 Lemon resize to 10 c/p and place by Teapot, duplicate this layer and place it by Lantern. El 15 strawberry branch resize to 25, c/p  erase the branch part, and place towards bottom right of Frame.  El 134 Butterflies resize to 60 c/p and place to the top right of bottom frame, add drop shadow. El 104 Flower resize to 10. I duplicated this layer several times and scattered them around the bottom. 
For the mask I used Paper 20 and a Floral Mask by Dee. Duplicated my mask, flip vertical layer. Merged Down. I also used a brush, On my Mask Layer, Selections All, Float Defloat. I selected Pattern and the original  tube layer on my Materials Palette. It took several tries to get the brush exactly where I wanted. you can play around if you decide to this technique also. For accents I used El 151, resized to 80 c/p and place towards back of Frames by where I placed the brush, and El 154 resized to 70 c/p and place towards bottom left behind frame. Open up your tube layer, duplicate, guassian blur 3.0 properties overlay opacity 47
Ok if you are happy with your tag great!.
Merge Visible, add a touch of Radiance . Add your Name, CR and License info and you are done!
Thanks for looking!
post signature

May 31, 2015

Country Life - CT PTU Tut - Down On The Farm by Drea's Creations


Using a Fab scrap kit by Drea's Creations named Down On the Farm HERE

Awesome Art by Keith Garvey


FTU Font Rio Grande

No Outside Filters Used

Don't Forget your Drop Shadows

HERE WE GO!


Open new image 700 x 700
C/P tube of choice ont your canvas, close off tube layer for now. El 68 Flower Frame resize to 80 c/p and place behind tube, duplicate, gaussian blur 3.0 properties Burn lower opacity to 57.Working with the inside of your Frame: Paper 5 resize to 60, magic wand click inside frame c/p Paper Selections, Invert, Delete.  El 89 resize to 70 c/p and place towards back of El 27. 
El 98 resize to 70 c/p and place behind El 27. El 20 resize to 20 c/p and place to far right . El 28 resize to 20 c/p and place towards back of frame by El 20
Elements 139 and 140 resize to 10 c/p and place between tractor and barn. Elements 97 and 99 resize to 30 c/p and place towards inside back of Frame. Duplicate El 97 and place copy according towards inside back of frame. El 152 rsize to 15 c/p and accordingly towards inside back of frame. 
If you are happy with the inside of your frame, lets work with the bottom outside. Open up tube layer. Take El 18 resize to 40 c/p and place towards bottom right behind tube. El 78 resize to 40 c/p and place by El 18. El 15 resize to 30 c/p and place towards middle by El 18. El 69 resize to 10 c/p and place by El 78. El 66 resize to 60 c/p and place to the left side of Frame. El 77 resize to 15 c/p and place towards bottom. There are some beautiful flower elements in te kit, so I used several of those and scatterted them at the bottom
Last El 102 resize to 60 c/p and place towards the back of Frame, dplicate layer flip vertical and place towards bottom right. 
 El 27 resize to 60 c/p and place towards bottom underneath tube
El 84 resize to 50 c/p and place over El 27
Go to tube layer, duplicate guassian blur 3.0 properties Overlay, opacity 75. If you are happy with your tag GREAT!. Merge Visible, add your mask, I used paper 5, duplicated twice. Add your name, Copy Write and License info
Save as PNG!
Thank you for looking!


post signature

March 29, 2015

Spring Bloom - CT PTU Tut - Before the Rainbow By Drea's Creations

Scrapkit is by Drea's Creations "Before the Rainbow" HERE
Art is by Anna Liwanag available HERE
Mask is by Dee HERE
FTU Font Porcelain
Filters
Xero Radiance
Two Moon - Ballons
EC - Gradiant Glow on Name
Don't Forget your Drop Shadows
Here We Go!
Open new image 700 x 700, c/p tube of choice onto canvas. Duplicate tube, Gaussian Blur 3.0 Properties Screen. El 82 Frame, resize to 75 c/p and place behind tube. Add Xero Radiance, Settings 255, 255, 255, 146. El 44 resize to 65, c/p and place towards top right of Frame. Duplicate layer, Flip Horizontal then Vertical and towards bottom left. Magic Wand click inside Frame, Selections- Modify-Expand by 6, take Paper 13 resize to 80 c/p and place inside frame. Selections-Invert Delete-Do Not Deselect. El 44 Gate, c/p and place inside frame towards middle HIT DELETE, Deselect. El 37 Tree resize to 60, c/p and place to the left behind Gate. El 41 Ground resize to 40 c/p and place towards bottom inside frame before Gate. El 5 Fountain resize to 40 c/p and place nside frame towards left, add drop shadow. El 15 Garden Bins resize to 30 c/p and place towards bottom left by Fountain
 EL 49 Flower Pot resize to 20 c/p and place to the bottom left of tube. 
El 54 and 55 resize to 20 c/p duplicate these layers and scatter them  towards bottom. El 27 Ribbon c/p and place towards bottom. El 21 Bottle c/p andplace towards right in front of Flower 
Pot. Take you Eraser tool, Round 10, and eraser as much as the ribbon to make it look like it is around the bottle (See tag for Reference). 
El 19 Umbrella resize to 60 c/p and place behind tube to the right. El 17 Lantern resize to 30 c/p andplace towards bottom left, add drop shadow. 
El 32 Brick Ground resize to 75 c/p and place towards bottom .
Merge your tag. Add Mask. For mine I used Paper 5, Duplicated 4 times Merge down Mask Layers. Effects:
Two Moon - Ballons
You can play around with your settings, then add
Xero - Radiance
Settings 255 straight down!
Merge your tag, duplicate Guassain Blur 3.0 on copy, Properties Hardlight-Opacity 40.
Add your name, copy write and license
Save as PNG!
thanks for looking!
 
post signature

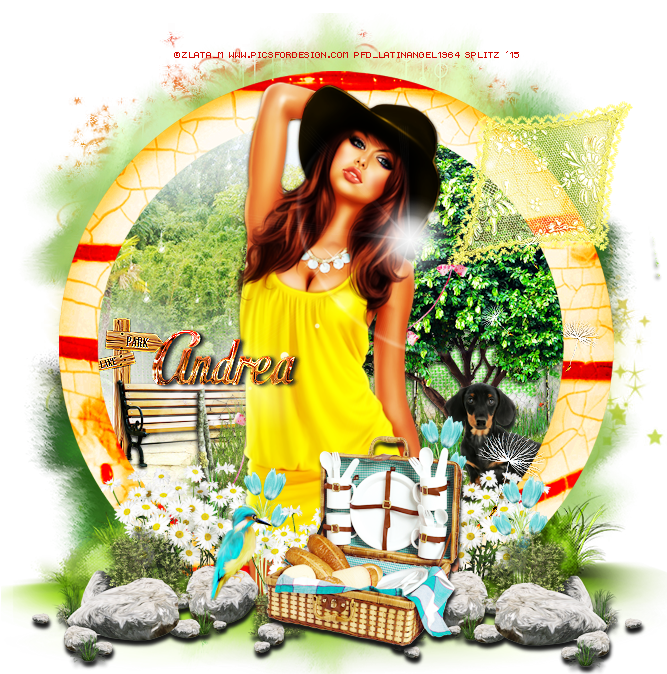
Sun Daze - CT PTU Tut - Spring Day in the Park by Drea's Creations


Scrapkit is by Drea's Creation "Spring Day in the Park" HERE. This kit comes with 149 fantastic elements and 23 papers!

Art is by Zlata and you can get both license and art HERE


FTU Font Pacifico

Mask is by me

Filters

Xero Radiance
EC 4 Chrome for name

Don't Forget your drop shadows!

Here we go!
Open Image 70 X 700 c/p tube of choice onto your canvas. Duplicate tube layer Gaussian Blur 3.0 Properties Softlight
El 144 Round Frame resize to 70 c/p and place behind tube. Go to Effects - Xero Radiance - Settings 255 Straight Down. Magic Wand click inside frame, take Paper 20 resize to 80 c/p inside Frame, selections-invert-delete-deselect. Go to Effects again and add the same Xero Radiance settings as above. El 101 Tree/Fence resize to 60 c/p and place to the right inside frame, erase anything showing outside Frame. El 106 Grass resize to 60 c/p and place behind Tree/Fence towards bottom. El 81 Ground resize to 60 c/p and place to wards left inside frame behind Tree/Fence. El 75 Bench, resize to 20 c/p and place on EL Ground towards left, add drop shadow.  El 74 Park Sign resize to 20 c/p and place behind bench to the left, Enhance Edges.  El 105 Grass resize to 90 c/p and place towards bottom behind frame. El 88 Rocks resize to 40 c/p and place towards far right in front of Frame, duplicate this layer flip horizontal place layer to the right. El 90 Daises resize to 50, c/p and place towards left behind tube, duplicate this layer and place in fornt of tube duplicate again and place behind tube to the right. El 94 resize to 20 and scatter several layers at the bottom, El 44 Picnic Basket c/p and place towards bottom, add drop shadow. El 136 Dog resize to 20, c/p and place to the right inside Frame behind Tulips. El 17 Kite resize to 60 c/p andplace a little above behind tube. Adding finishing touches. Take El 146 Frame resize to 80 c/p and place towards top in back of frame, suplicate this layer flip horizontal , bring that layer towards bottom. El 116 Sun Ray resize to 80 c/p and place  in front of tube. 
Merge Visible Duplicate tag, Properties Hardlight Opacity 42
Merge Visible again and crop. Add your mask of choice.
Add your Name Copy Write and License info\Save as PNG\Thank you for looking!
post signature

February 23, 2015

Lucky Charms - CT PTU Tut - Feelin Irish by Drea's Creations


I am using PSP 6 to create this tag but any other version will work.

Beautiful Scrapkit is by Drea's Creations "Feelin Irish" available HERE


Beautiful tube by Zlata M Available HERE
Fonts used Impact and Mardian Demo


DSB Bright Noise
Xero Radiance

Mask is by Moonbeams and Spiderwebs HERE

Here we go!


Open new image 700 x 700. Using text tool, 
Foreground: #224d17
Background Null
I am using a nice bold font IMPACT at 90 Pixels
Font Style B
Type out the words LUCKY CHARMS
Convert to Raster. Magic Wand Select all letters C/P Paper 23, Selections Invert Delete. On Paper Layer Duplicate, Properties Hardlight. Close off the OUTLINE layer of your WA. On your Paper WA go to Selections - Select All - Float - DeFloat
NEW LAYER
Modify - Borders 3
Flood Fill with #fcc67a.
Go to Effects - DSB Bright Noise
Darker 69 and add a Bevel, I used # 2
Open back up your OUTLINE WA
Add Drop Shadow. Add your tube add a drop shadow.
El 74 resize to 70 C/P and place underneath WA to the left, duplicate flip horizontal and place to the right. El 71 resize to 60 C/P and place over El 74 to the left. duplicate flip horizontal and place to the right. EL74 again and place towards the back. El 69 resize to 70 and place underneath El 74. El 37 resize to 30 C/P and place to the middle of WA, Duplicate twice and place one each at each corner. El 20 resize to 30 C/P and place to the left behind tube. El 42 resize to 50 Enhance Edges c/p and place behind El 20. EL 3 resize to 30 C/P and place behind EL 42. El 42 Rainbow resize to 70, Gaussian Blur 6, Properties Screen opacity 46 C/P and place right over  Pot Of Gold slighly to the left. El 101 resize to 60 C/P and place to the right behind rainbow El 62 resize to 30 C/P and place to the right behind tube El 35 resize to 30 C/P and place in front of WA. 
El 18 resize to 40 C/P and place towards the bottom. El 65 reize to 50 C/P and place behind tube to the right. El 86 resize to 30 c/p and place to the far left behind WA. El 36 resize to 50 c/p and place behind Rainbow to the left, duplicate and place to the far right behind tube. Erase any of the ribbon that is showing. El 89 and 90 resize to 10 scatter some of these layers to the bottom. El 89 resize to 20 c/p and place them as you wish. Last El 107 Netting C/P and place towards the back.

Merge your tag. Add your name Copy Write and License info and save as PNG!
Thanks for looking!
post signature

February 2, 2015

Sentimental - CT PTU Tut - Broken Inside by Drea's Creations


I am using a beautiful dark kit by Drea's Creations named Broken Inside - Go HERE

Using the fabulous work of Arthur Crowe. You need a license to use his art and you can get both HERE

Template is by Me. You can download HERE

No Outside Filters Used

Don't Forget Your Drop Shadows

Her We Go!

Open the template, Duplicate, close off original. C/P your tube of choice  to the front of template. Close off the Tube Layer, we will work with this later on. Back to template, you can see all layers are numbered to make it easier to work with. 
Go to layer 6. Selections All, Float - Defloat -C/P closeup of tube - Selections Invert Delete. Duplicate closeup, on copy Gaussian blur 6.0, Properties Screen. On Original Properties Luminance Opacity 46. Go Layer 5, Selections, Float Defloat, C/P paper 26, Selections Invert Delete.
Duplicate Paper Layer, on Copy Properties Hard Light and  Gaussian Blur 3.0 . Layers 1 and 2, Merge Down. Selections Float Defloat, C/P Paper 17, Selections Invert Delete. 
Layer 3, Selections, Float Defloat, C/P Paper 18, Selections Invert Delete. Layer 10 follow same steps using Paper 18. Layers 11 and 4, Follow same steps as above using Paper 5. Layer 9 I used Paper 0
Once Done You can delete the Template Layers except for Layer 6, 7, 8 to avoid having so many layers!
Now for the Elements. El 105 Leaves resize to 70, Effects-Edge Effects-Enhance Edges. C/P and place to the bottom underneath Layer 6.  El 6 Butterfly resize to 40 C/P and place to the bottom left. El 91 Mesh resize to 30 C/P and place behind Butterfly
El Chain resize to 50 C/P and place over to the top right over close up up tube layers.  El 106 Leaves resize to 30 C/P and place to the bottom. EL 108 Rose resize to 15 C/P and place to the bottom. El 62 Lantern resize to 40 C/P and behind Rose. El 52 Books resize to 35, C/P and place next to Rose. El 95 resize to 15 C/P and place on top of Books. El 108 resize to 15 C/P and place to the left by Books. El 95 Flower resize to 15 C/P and place to the bottom right by books. Take El Leaves C/P and place to the right behind Flower. El 31 Jewelry Box resize to 20 C/P and place on top of books. Last El 83 Bubble Scatter resize to 50 C/P and place to the bottom far left behind Elements, Duplicate this layer Flip Horizontal and place to the far right. El 7 Bow resize to 30 C/P and place by Books. If you care happy with your tag great. Merge Visible. Duplicate Tag, on copy Gaussian Blur 3.o Properties Screen Lower Opacity.

Add Name, License and Copywrite
Save as PNG!

Thanks for looking!
post signature

January 31, 2015

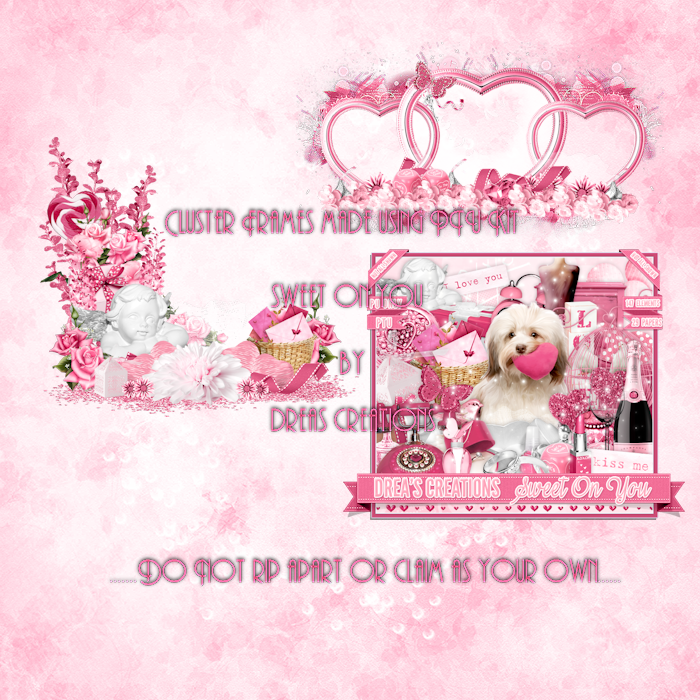
CT PTU "Sweet On You" by Drea's Creations - Cluster Freebies


Clusters I made using a Beautiful and soft new kit by Drea's Creations named "Sweet On You"


Tags I made using the clusters 


First one I used the lovely work of Alex Prihodko. His beautiful work is available at PFD HERE  and you need alicense to use it. I added a frame from the kit and gave it some Xero Radiance and added a mask


Second Cluster I used one of the beautiful Puppy tubes from the kit and added a mask.


Download Cluster One HERE

Download Cluster 2 HERE


Thank you for looking!


post signature

January 17, 2015

The Beauty of Winter - CT PTU Tut - Winter Romance by Drea's Creations


A beautiful soft Scrap kit by Drea's Creations named Winter Romance

Beautiful Art by Alex Prihodko. You need a license to use his work and you can get both

FTU Font Moonbeam

Mask is by Rachel
HERE

Here we go!!


Open new image 700 x 700. Take Closeup of your tube c/p and place onto the center of your canvas. Take Frame El 146 resize to 80 c/p and place in front of your tube, magic wand selections expand by 6, click on tube layer selections invert delete...add paper of choice. I am using paper 33. C/P and place behind your tube....on your paper layer HIT DELETE..Deselect
Go to your tube closeup..Duplicate, on Copy Gaussian Blur 3.0 Properties Screen lower opacity to 79.
El 96 resize to 40 c/p and place to the bottom left inside frame, duplicate this layer flip horizontal and place to the bottom right
El 83 Wreath Frame resize to 70 c/p and place over First Frame. El 78 Bows resize to 60 c/p and place a little to the bottom left of Frame. El 120 Snow resize to 60 c/p and place to the bottom.  El 55 Glasses resize to 40 c/p and place to the bottom left. El 92 Beige Rose resize to 20 c/p and place behind Glasses. El 90 Leaves resize to 20 c/p and place to the left side of El 92. El 85 Rose resize to 15 c/p and place to the left. El 113 White Rose resize to 30 and place to the bottom middle behind Bows. El 56 Lantern resize to 30 c/p and place to the bottom right. El 45 resize to 20 c/p and place to the middle. El 53 Gift resize to 20 c/p and place to the bottom right. El 87 Branch resize to 30 c/p and place to the far left behind the elements. Duplicate this layer, flip horizontal and place to the far right. EL 21 Butterfly resize to 20 c/p and place over the Glasses. 
Behind the frame I used El 100 resized to 60 c/p and place to the left behind frame.duplicate this layer, flip horizontal merge down these two layers and place to the right. El 86 feathers follow steps as above. Take your eraser tool and erase any of the Feather's branches showing. 
If you are happy with your tag Merge Visible. 
Duplicate your tag, on copy Gaussian Blur 3.0 
Properties Blur
 lower opacity to 67.

Merge layers!

For the NAME I converted to Raster, Duplicate. On Copy Enhance Edges 
on Original Properties Screen
Add your license and copywrite info.
Save as PNG 
Thanks for looking!
post signature

December 7, 2014

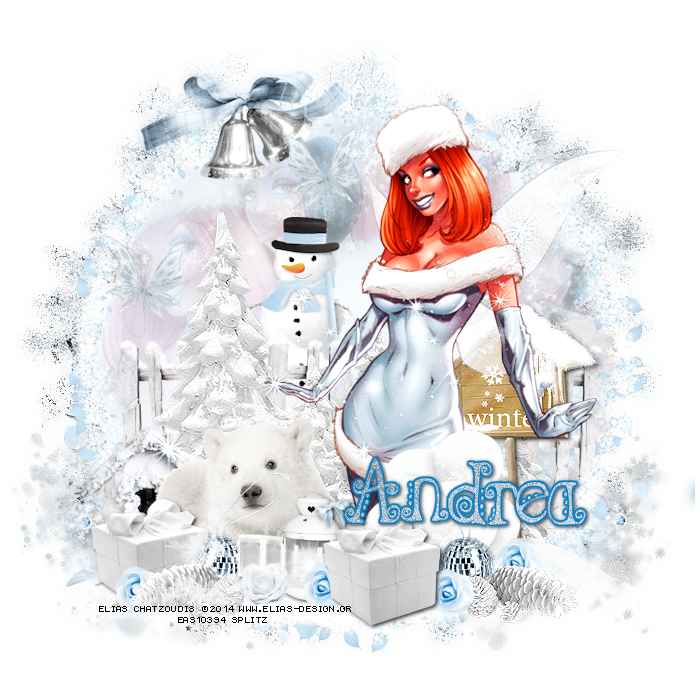
Winter frost - CT PTU Tut - Frostfell by Drea's Creations


I used PSP X6 to create this tag but any other version will work!

I am using a beautiful scrap kit by Drea's Creations named FrostFell

Fabulous tube by Elias. You need a license to use his art and you can get both HERE

FTU Font Spharty Girl

Filters
Photo Effects - Film and Filters

Don't forget your drop shadows!
Here We Go!
Open your image 700 x 700 C/P tube of choice onto the center of our canvas
DC-95 Circle Frame resize to 80 c/p and place behind your tube
Magic Wand click inside your frame. Selections - Modify - Expandy by 10
Take Paper 25 resize to 90 c/p and place inside Frame. Selections - Invert - Delete - Deselect
Go to Paper Layer. Selections - Float - Defloat
C/P your closeup tube. I am using 2 so this is optional. Selections Invert Delete.
Duplicate tube layer, on copy Gaussian Blur 6.0 on copy layer. Properties Screen. Go to original tube layer, Properties Luminance lower Opacity to 50. Go Back to Paper Layer, Duplicate and move this layer above Tube Layers lower Opacity to 40. Still working with the inside of your frame. DC-32 Trees resize to 80, I only want to use two of the trees, so I took my crop tool to cut out the other two trees. C/P and place to the left of the frame. duplicate this layer flip horizontal and place to the right.  DC-3 Fence resize to 30 C/P and place behind Trees to the left duplicate this layer flip horizontal and place to the right. . DC-34 Snowman resize to 30 C/P and place towards middle a little above behind tube. . DC-88 snowflake scatter resize to 50 C/P and place to the right bottom of fence. DC-17 Winter Sign resize to 40 c/p  and place to far right behind tree. Now for the outside of the Frame. DC-106 Snowballs resize to 602 C/P and place to the right in front of tube 
. DC-65 Gift Box resize to 20 c/p and place to the bottom right. DC-7 Lantern resize to 30 c/p and place by Giftbox. DC-47 Rose resize to 10 resize and place towards bottom, duplicate this layer 3 times and scatter them as you may like to the bottom. dc-57 ornament resize to 20 c/p and place towards bottom by giftbox. Dc-37 Polar Bear resize to 40 c/p and place to far left. 
Throw some sparkles in there also!
Go back to tube layer
Go to Photo Effect - Film and Filters
Vivid Skin Tones - Filter Color #d86347
Density 20
If your happy with your tag great, merge visible
Add your Mask, I used Paper 12 for mine
Add your Name, icense and Copy Write info
Save as PNG

November 22, 2014

Winter Hideaway - CT PTU Tut - Winter by the Lake by Drea's Creations


I used PSP X6 to create this tag but any other version will work. 

Beautiful scrap kit by Drea's Creations named Winter by the Lake

Fabulous art of Arthur Crowe. You need a license to use his work and you can get both HERE

FTU Font Mussica Swash

Mask is by Rachel HERE

Filters
Photo Effects - Film and Filters

Dont forget your drop shadows

HERE WE GO!
Open New Image 700 x 700, El 118 Frame resize to 80 c/p and place onto the center of your canvas. Tube of choice c/p and place to the right side of Frame close this layer off. Going back to Frame, Duplicate, Merge Down. We will work with the inside of the frame. 
Magic Wand, click inside Frame, expand by 6 . Take Paper 6 resize to 60, c/p and place inside Frame. Selections Invert Delete. El 38 Cabin resize to 60 c/p and place inside frame towards the top left, El 36 Fence resize to 80 c/p and place to the middle right ( see tag for reference). And last El 94 Water resize to 40 c/p and place towards bottom. El 49 Squirrel resize to 20 Sharpen c/p and place right at the edge of El 36 fence. El 19 Pinecone resize to 15 Sharpen c/p and place towards bottom Erase anything that is showing outside the Frame.
El 37 Trees Resize to 70 c/p and place to right behind frame, duplicate this layer flip horizontal and place to the left. El 96 Snow, resize to 80 c/p and place to the bottom middle. El 31 Pinecones resize to 40 c/p and place to the bottom far left. Duplicate this layer twice and scatter them around the bottom. El 95 Snowballs resize to 50, c/p and place to left behind Pinecones. El 42 Sign resize to 50 and also place to the left. El 9 Flower resize to 
20 Sharpen c/p and place at the bottom by tube. I duplicated this layer 3 more times and scattered them around the bottom.  El 15 Willows resize to 40 c/p and place behind Sign. El 27 Leaves resize to 40 c/p and place to the bottom right, duplicate this layer and place to the left. El 23 Logs resize to 30 c/p and place to the right. Last I just had to use this beautiful Snow scatter!. El 108 resize to 50 c/p and place to the top left of Frame.  Go back to El 108 Flip Horizontal then Flip Vertical, Sharpen c/p and place over the bottom part of the tube. Merge Visible!
I added Photo Effects to my merged tag at these settings:
Photo Effects - Film and Filters
Vivid Skin Tones
Custom - Filter Color #ff5a01
Density 10
You can always play around to get the effect you like!
Add your Mask, Name, Copy Write and License info 
Crop if you need to
Save as PNG
Thanks for looking!
post signature

November 10, 2014

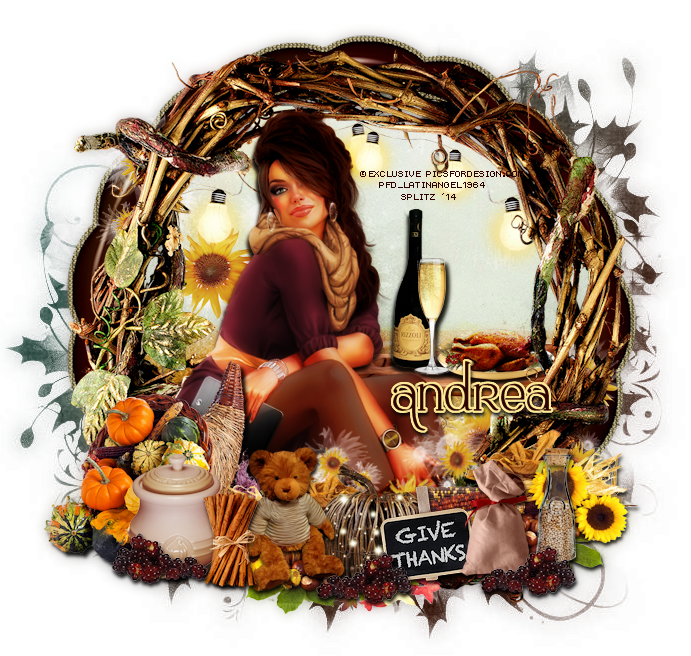
Giving Thanks - CT PTU Tut - Let's Give Thanks Collab - Drea's Creations


I used PSP X6 to create this tag but any other version will work.

Beautiful Collab kit. I used Drea's Creations part of the Let's Give Thanks" Collab.

I am using the work of Di_Halim. This tube is an Exclusive tube and you need a license to use her work. Both and can be found HERE

No Outside Filters used

PTU Font SNF Ambrosia

Beautiful Mask by Dee HERE

Don't forget your Drop Shadows

Here We Go!
Open new image 700 x 700. C/P tube of choice onto the center of your canvas. El DC 56 Frame
resize to 70 c/p behind your tube. El DC Frame 58 resize to 75 c/p and place behind DC El 56. 
Take your  tube layer and sit her outside the frame erase anything showing outside the Frame Magic Wand click inside 1st Frame -  Selections Expand by 5. C/P paper of choice I am using Paper 12, Selections - Invert - Delete - Deselect. 
DC 22 resize to 30 c/p and place to the bottom middle, duplicate this layer flip horizontal and place to the right.  DC 23 resize to 40 Flip horizontal c/p and place to the bottom left. DC 4 resize to 30 c/p and place to the top left just underneath Frame duplicate this layer flip horizontal and do the same to the right. DC 2 Table resize to 40 c/p and place behind tube to the right. DC 20, 21 and 42 resize all to 20, c/p and place on Table. 
DC 32 resize to 20 c/p and place them at the bottom, duplicate this layer twice and scatter them as you like. DC 39 resize to 20 c/p and place to the bottom left. El 13 resize to 20 c/p and pkace to the bottom left. DC 16 resize to 20 c/p and place to the bottom right. DC 7 resize to 30 c/p and place to the left by your tube DC 6 resize to 20 c/p and place to the bottom
Last El 44 I love this scatter!  Resize to 40 Flip Vertical c/p and place to the bottom right inside frame. I duplicated this later c/p and place to the left a little above tube inside frame. Back to DC 44 resize smaller Free Rotate Left 30 c/p and place somewhere at the bottom by tube. 
If you are happy with your creation great! Go to you tube layer, Duplicate. On copy layer Adjust Gaussian Blur 6.0 Properties Overlay - Opacity 73. Merge Visible
Duplicate your tag, Adjust Gaussian Blur 6.0 Properties Soft Light Opacity 48
Add your mask
Add your Name, Copywrite, License and save as PNG
Thank you for looking!
post signature