Pages

June 13, 2015

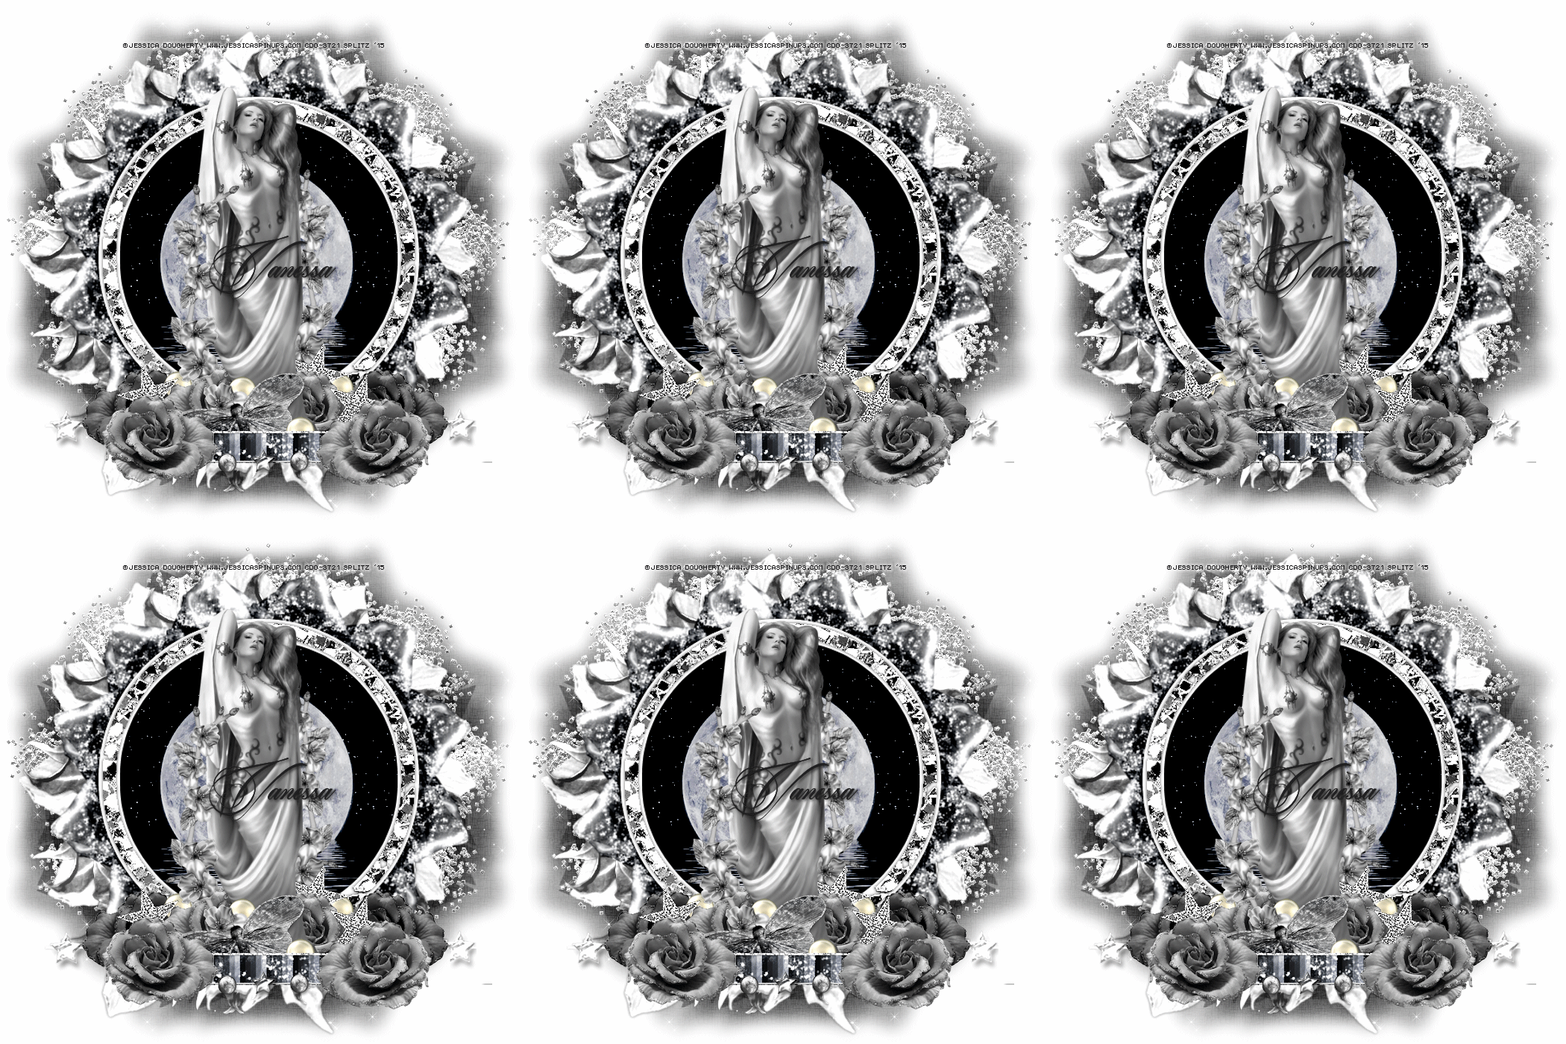
Moon Goddess - FTU Tut - Moonlight by Candy Treats


Beautiful FTU Scrapkit  by Candy Treats named Moonlight

I am using the gorgeous work of Jessica Dougherty
You need a license to use her art and you can get both

Mask is by Vanessa of Leather and Lace Tuts! She made it for our Pimpin Blog,
 and also check out the fabulous goodies !
Mask is the second one. 

FTU Font Beaked Tyrant Personal Use
HERE

No Outside Filters Used

HERE WE GO!

Open new image 700 x 700 If animating Flood Fill White, c/p tube of choice onto your canvas. 
On your tube layer go to
Effects - Photo Effects - Black and White Film
Settings: 
Brightness -33, Clarify 45
Choose from kit Leaf Frame resize larger to 115, c/p and place behind tube, Take Frame 2 resize larger to 115 c/p and place in front of Leaf Frame. Magic Wand Click inside Frame 2, expand by 6 take Paper Moonlight, resize to 60 c/p and place behind Frame 2, center the paper so the Moon is right behind tube, selections invert delete deselect. Duplicate paper, on Copy go to Properties - Burn.  Last El Glitter Spill, c/p and place behind Leaf Frame to the far left, duplicate flip horizontal and place to the far right. Now Merge Down Leaf Frame and the Glitter Spill layers and rename Leaf Frame 
 El Rose  resize to 30, c/p and place to the RIGHT side of tube layer, duplicate, duplicate Rose layer, flip horizontal and now place to the bottom RIGHT behind tube layer. Repeat same steps as above for Rose layer and place according to the LEFT side of tube. Star 3 resize to 20, Free Rotate 15 Right. Effects, Enhance Edges.
c/p and place to the far RIGHT behind Rose layer. duplicate Star layer, Flip horizontal  and place behind Rose layer to the LEFT. Duplicate star layer one more time and place behind Rose layer behind tube.  EL Star String resize to 70 c/p and place between the 2 ROSE layers in front of tube. El 5 Ribbon, repeat same steps as for Star String c/p nad place behind Star String. Merge Down these 2 layers. . Take Eraser tool and erase anything showing out of the Rose Layers. El Butterfly resize to 30 c/p and place in front of Tube behind Ribbon layer. EL Dark Branch, resize to 60, Rotate Left, Flip Horizontal,  c/p and place the left by tube, Duplicate layer flip horizontal and place to the right behind tube. El Pearl resize to 30, I duplicated this layer 3 times and scattered them at the bottom
El Rose 2 resize to 30, c/p and place to the far bottom left, duplicate this layer flip horizontal and place to the Far Right.
Add your Mask, I am using Moonlight Paper 2 from the Freebie folder. Duplicate Mask. If your happy with your tag great. Add your name, opy Write and license info.
Save as PNG

To Animate
Take Leaf Frame Layer and import that to Animation Shop
Go to 
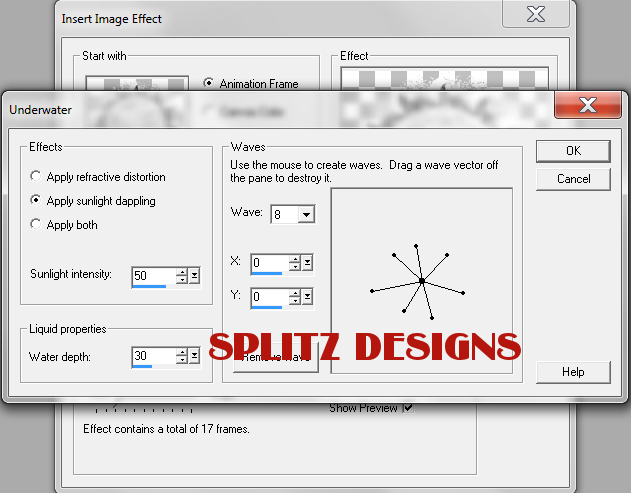
Insert Image Effects
Underwater
with these Settings:

You can always play around with the settings!
If you happy great, Back to PSP - close off Mask and Leaf Frame Layer, Merge Visible elements
Copy  Tag import to AS as new animation 
My animations has 17frames so SELECT ALL on your animation, I will make 17 frames of the tag. Go to EDIT, Duplicate until you have the 17 frames.  Select All, C/p onto into Selected Frame (Animation)
**MAKE SURE BEFORE YOU PAST THAT ALL YOUR FRAMES ARE SELECTED AND YOU ARE PASTING ON FIRST FRAME**
Back to PSP. Close off Tag open up mask layer, copy import to Animation shop, make 17 Frames. Go bac to animated tag, select all, c/p and place on Mask frame. and you are done.
Save as Gif


post signature

June 6, 2015

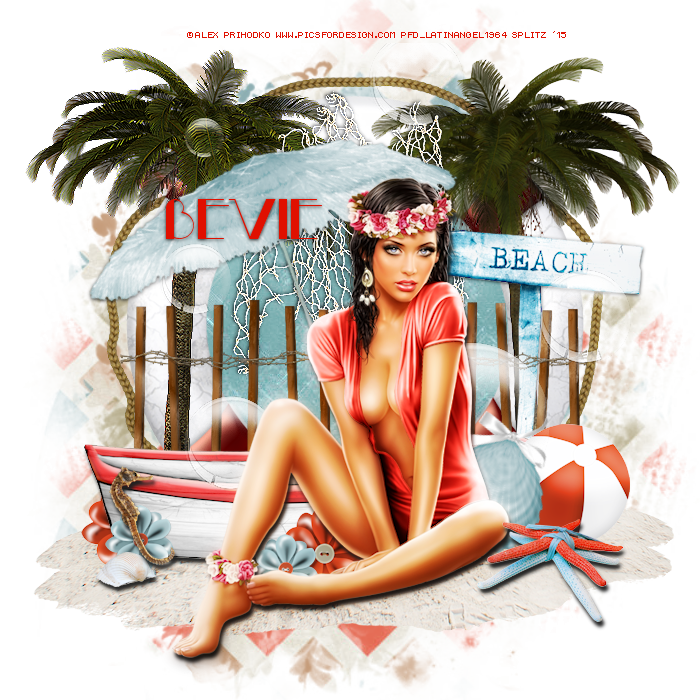
By the Beach - FTU Scrapkit By The Bay - Horseplay Pasture

Adorable Scrap Kit by Horseplay Pasture names By the Bay
HERE

Beautiful Art of Alex Prihodko

Mask by Rachel Set 6 #3
HERE

FTU Font Raconteur NF
HERE

FILTERS
Xero Radiance

Don't Forget Your Drop Shadows

Here We Go!
Open new image 700 x 700 c/p tube of choice onto canvas. El 56 Sand, resize to 60 c/p and place underneath tube. El 31 resize to 25 c/p and place to the bottom far right. EL 30 Beach Ball resize to 25 c/p and place to the far right behind tube. El 32 resize to 60 c/p and place behind tube to the left. El 7 resize to 20 c/p and place on El 32. El 1 Shell resize to 20 c/p and place to the far left. EL  21 Gate resize to 70  c/p and place towards the back. El 50 Tree resize to 70 c/p and place one to the far right behind Gate, duplicate this layer flip horizontal and place to the far left. El 34 Beach Sign resize to 70 c/p and place in from of Tree on right side El 58 Umbrella resize to 70 c/p and place towards middle in front of Gate. El 18 Net resize to 40 c.o and place over in the middle between both tree layers. , Edge Effects Enhance. El 20 Red Flower  resize to 20 c/p and place to far left bottom  behind boat, duplicate this layer and place on left side behind tube. El 19 Blue Flower resize to 15 c/p and place by bottom left in front of boat, duplicate this layer and place by Red Flower behind tube. El 37 Tube Frame resize to 80 c/p and place behind all elements. Magic Wand click inside Frame, Selections Modify Expand by 6, Invert Delete Deselect. Duplicate Paper, Properties Burn. El 59 Bubbles resize to 80 c.p and place to the middle behind tube. On Main tube layer, duplicate, gaussian blur 6.0 properties overlay lower opacity to 65. Merge Visible.
Effects - Xero Radiance with these settings
109-206-82-137.
Make your mask, I used Paper 10, duplicate mask, flip vertical, Merge Visible.
Add your name, CR and License info and your done!
Thanks for looking!
post signature

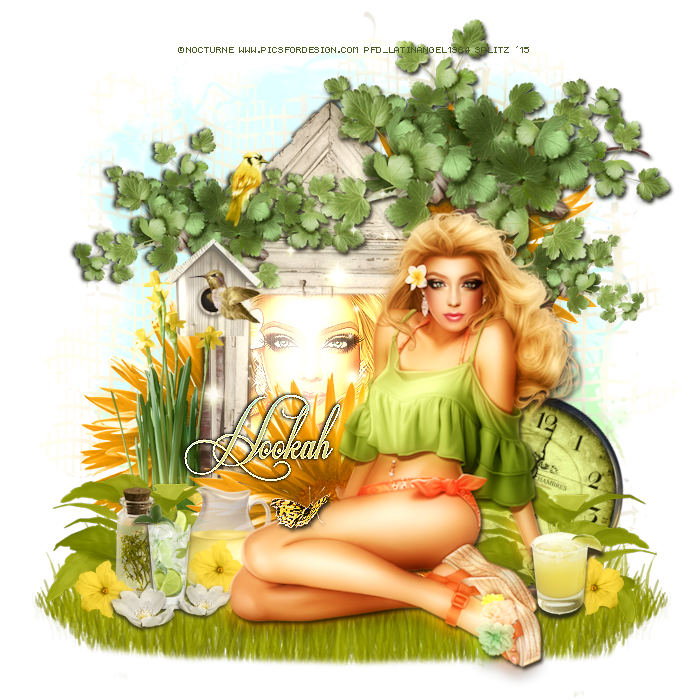
Citrus Sunrise - CT PTU Tut - Citrus and Sage by Jackie's Jewels


Beautiful Scrap Kit by Jackie Jewels names Citrus and Sage 

The lovely art of Nocturne - HERE

Mask by Rachel - HERE

FTU font Respective 2.0

Filters
Xero - Bad Dream
Xero - Radiance
Photo Effects - Film and Filters

Don' Forget your Drop Shadows

Here We Go!
Open new image 700 x 700, c/p tube of choice onto canvas, add a drop shadow. duplicate tube layer, guassian blur 6.0 properties overlay lower opacity to 46
El 51 Grass, resize to 70 c/p and place underneath your tube. El 5 House Frame resize to 70 c/p and place towards middle behind other elements go to Effects - Xero Radiance. . El 46 tree resize to 90, c/p and place behind tube. Place tube that is looks like she is leaning  on it. Add drop shadow to tree layer. resize Tree El smaller, c/p flip horizontal and place towards right side of House Frame layer. Magic Wand click on house frame, expand by 6. c/p tube layer closeup, selections invert delete. duplicate tube layer, guassian blue 6.0 on copy, Effects - Xero Soft Vignette, properties overlay, Edge Effects Enhance on both sloseup tube layers. 
 El 72 Leave Folliage, resize to 70 place to far right behind tube, duplicate this layer and place to far right. El 33 Flower, c/p and place towards middle behind tube. El 38 resize to 30 c/p and place in front of Flower layer. El 39 Drink resize to 30 c/p and place to bottom far right by tube. El 64 Birdhouse resize to 70 c.p and place towards back behind Larger tree. El 26 Fruits resize to 40 c/p and place towards bottom left behind El 72 Folliage. El 32 resize to 30, duplicate layer twice and scatter them around the bottom. El 56 resize to 60, free roate 20.0 left c/p and place towards bottom left behind El 72 Folliage. El 47 resize to 50 c/p and place to right side by Birdhouse. Go back to El 33 Flower, duplicate this layer and place to bottom left behind house frame. Duplicate this layer again and place to far right top behind tree. EL 49 Flowers resize to 30 c/p and place to the bottom right on Grass. El 79 resize to 30 c/p and place by El 79 FLowersl El 68 SParkle layer c/p andplace over closeup tube layer. El 63 and 70 Birds resize to both 70 and place one bird by Birdhouse and one on Tree. El 45 Net c/p and place behind all elements. El 44 Butterfly resize to 20 c/p and place on Tube layer's leg, add drop shadow and Edfe Effects Enhance. 
Merge visible
Add your Mask, Duplicate Merge Down. Go to Effects - Xero Bad Dream. Click on Red with these settings
191 and 45
On my merged tag 
I also added Photo Effects - Film and Filters - Glamour
Filter color - #e5c9b8
Opacity 10
If you are happy with your tag great!
Merge all layers
Add your name, CR and License info
Thanks for looking!
post signature

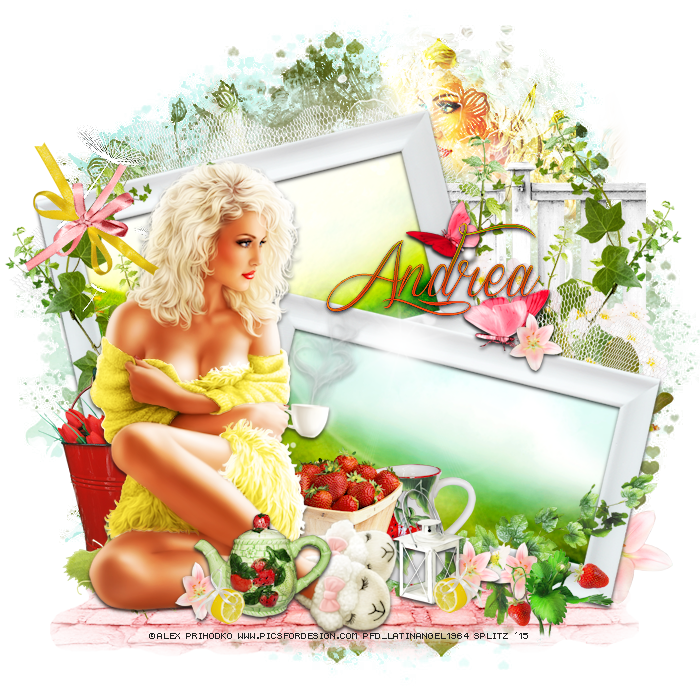
Sweet Days - CT PTU Tut - Strawberry Lemonade by Drea's Creations


Lovely and Summery Scrapkit by Drea's Creations named Strawberry Lemonade

Beautiful art by Alex Prihodko. You need a license to use his art and you can get both HERE

Mask is by Dee

Font is FTU Sverige

Filters
Xero Radiance

Dont forget your Drop SHadows 

HERE WE GO!
Open new image 700 x 700. C/P tube of choice onto canvas, add a drop shadow and close off tube layer for now. 
El 163 Double Frames resize to 80 c/p, add drop shadow and place onto center of canvas.  Paper 21 resize to 60 Free Rotate Left 20. Take magic wand and click on top frame expand by 5. Selections Invert Delete, Deselect. Take Paper 21 resize to 60 Free Rotate Right 20, Magic Wand, expand by 5 click inside bottom frame c/p Paper 20, Selections, Invert Delete, Deselect
Duplicate each of the Paper layers, Properties: Burn.
El 60 Brick Ground, resize to 95 c/p and place to bottom underneath tube, duplicate that layer Merge Down. El 117 Leaves resize to 70 c/p and place to the left behind tube duplicate this layer, flip horizontal  c/p and place to the right behind Frame . El 110 resize to 50 c.p and place to the right behind Frame, duplicate this layer flip horizontal and place adjacent to the first layer. El 68 resize to 30 c/p and place to the left behind tube. El 2 Basket of Strawberries resize to 20 c/p and place to the middle right behind tube. El 31 Teapot resize to 20 c/p and place in front by tube. El 66 Lantern resize to 20 c/p and place to the bottom. El 66 Netting resize to 60 c/p and place on top behind Frame.  El 58 Gate resize to 60 c/p and place towards top right of Bottom Frame.  Duplicate this layer flip horizontal and place to to top right of bottom Frame. EL 116 Leaves Free Rotate right 30, resize to 40 c/p and place towards bottom right of Frame. El 28 resize to 20 c/p and place behind Lantern.El 20 Lemon resize to 10 c/p and place by Teapot, duplicate this layer and place it by Lantern. El 15 strawberry branch resize to 25, c/p  erase the branch part, and place towards bottom right of Frame.  El 134 Butterflies resize to 60 c/p and place to the top right of bottom frame, add drop shadow. El 104 Flower resize to 10. I duplicated this layer several times and scattered them around the bottom. 
For the mask I used Paper 20 and a Floral Mask by Dee. Duplicated my mask, flip vertical layer. Merged Down. I also used a brush, On my Mask Layer, Selections All, Float Defloat. I selected Pattern and the original  tube layer on my Materials Palette. It took several tries to get the brush exactly where I wanted. you can play around if you decide to this technique also. For accents I used El 151, resized to 80 c/p and place towards back of Frames by where I placed the brush, and El 154 resized to 70 c/p and place towards bottom left behind frame. Open up your tube layer, duplicate, guassian blur 3.0 properties overlay opacity 47
Ok if you are happy with your tag great!.
Merge Visible, add a touch of Radiance . Add your Name, CR and License info and you are done!
Thanks for looking!
post signature