Pages

November 8, 2015

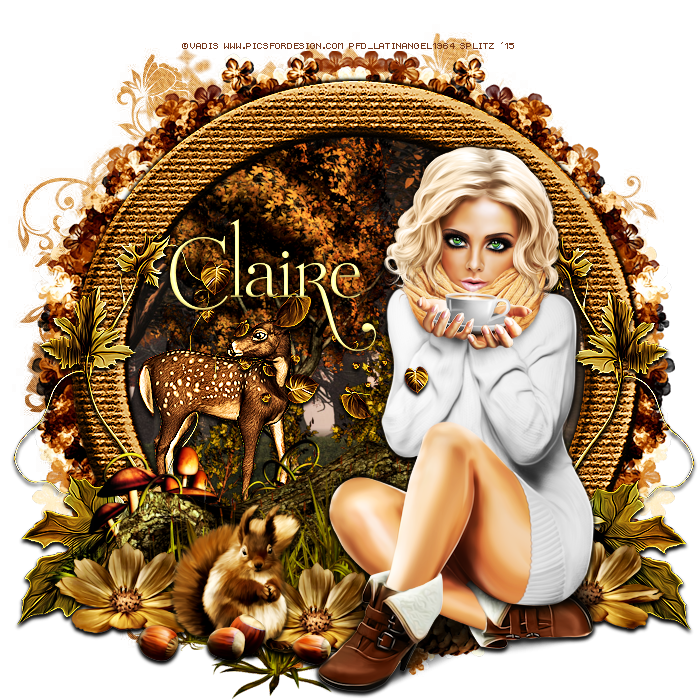
Majestic Nature - CT PTU Tut - FWTAGS Creations


I am using PSP X6 to creat this tag but any other version will work. 

Using a fab scrap kit by FW Tags named Woodland Frolic
You can find her kits at the following stores:


Using the fantastic work of VADIS - You can find her work HERE

My Mask # 4

FTU Font Mussica Swash

Here we go!


Open new image 700 x 700. I resized my tube of choice by 40 c/p onto canvas. Take Frame 4 resize by 65 c/p and place behind Tube. Take Frame 2 resize by 70 c/p and place behind Frame towards left, duplicate flip horizontal and place towards right, now move your tube to the right of the first frame. El 63 Log resize by 50 c/p and place behind tube layer towards left. El 46 Squirrel resize by 20 c/p and place to bottom by tube then flip horizontal. El 59 Flower resize by 20 c/p and place to the left side by squirrel, duplicate Flower 2 more times place each layer to far left and to far right. El 19 Vine resize by 50 c/p and place to far left, duplicate flip horizontal and place to far right Add drops shadows on these layers and enhance edges. . El 50 Leaves resize by 30, c/p and place towards middle of Frame by over tube layer, then add a drop shadow then enhance edges.   El 41 Pinecone resize by 20 flip horizontal and place to the right side by Rose. El 45 Acorns resize by 25 c/p and place by Squirrel . El 64 resize by 60 c/p and place to the left side outside frame.  Working with the inside of your Frame. El 69 resize by 50 c/p and place inside frame towards left. El 65 Deer resize by 30 c/p and place inside frame in front of Tree add a drop shadow then enhance edges. . El 56 small bush resize by 30 c/p and place inside frame in front of deer Layer, duplicate and move over slightly to right. Take Paper 1 resize by 60, then take your magic wand click inside first frame expand by 6 c/p Paper. Move paper up a  little so that the green grass is showing, selections invert delete.
Add your drop shadows to all your other elements. I also added a drop shadow to the First Framethen enhance edges. Merge your tag. Add your Mask, I am using Paper 4, duplicate mask layer. Merge tag. Duplicate tag, then go to Properties - Overlay and lower opacity to 44. Add your name, Copy Write and license info and you are done!
Save as PNG!

October 31, 2015

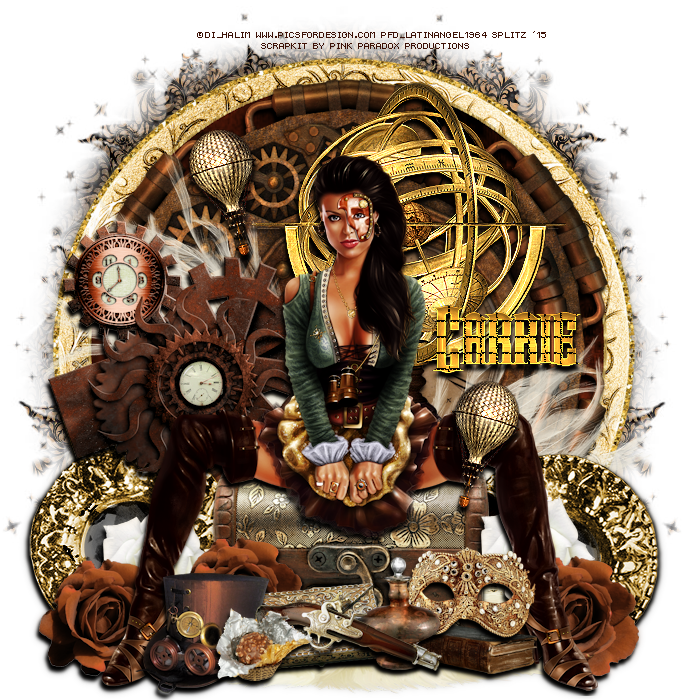
Traveler - CT PTU Tut - Elegant Steampunk by Pink Paradox Productions


I am using PSP X6 to create this tag but any other version will work!

Fabulous kit by Pink Paradox Productions named Elegant Steampunk

Awesome work of Di_halim available HERE

Mask is by me # 7 HERE

FTU Font SteamWreck

Filters
Cybia - Screenworks
On Name

Here we go!


Open new image 700x700. I resized my tube choice by 55 c/p onto center of canvas. I am using 2 Frames 16 and 17. Frame 16 resize by 50 c/p and place behind tube, like she is sitting on the bottom edge. take Frame 17 resize by 60 and place behind Frame 16. l 43 Trunk resize by 40 c.p and place underneath tube, make sure it is behind tube layer. El 52 Gun resize by 25 c/p and place to the bottom middle of Tube. Take the following Elements 24, 25, 26, 29, 30, and 66, resize all by 20 and place them accordingly at the bottom in front of tube layer. El 134 Brown Flower and El 136 white Flower, resize by 20, take Brown flower, c/p and place to wards bottom left behind Hat, duplicate layer and move that layer towards left behind tube layer. Take El 136 White Flower and place behind second layer of Brown Rose towards left behind tube layer. Take El 134 Deco, c/p and place to far left behind White Flower. Duplicate the Brown and White Flower and also El 134 Deco and place to lower right side. El 72 Globe resize by 60 c/p and place inside Frame to the right. Add a Drop Shadow then Inner Bevel with color #ece8d9 then Enhance Edges.  El 84 Balloon, resize by 15 then free rotate right 15. C.p and place to top left and follow same Effects as we did for Globe. Duplicate El Balloon, flip horizontal and place by Tube to the right.  El 102 Clogs resize by 40 c/p and place to left side over Frame. El 105 resize by 60 and place over Frame but behind El 102. If you are happy with your tag great. Add your Drop Shadows. I added El 52 the Feather as my finishing touch. Merge your tag!  Duplucate tag, adjust gaussian blur 3.0 properties softlight and lower opacity!.
Add Your mask I did Paper 51 for mine, duplicated twice. Merge Visible again. 
Add your name, copy write and license info
save as PNG!
Thanks for looking!

October 24, 2015

City of Light - CT PTU Tut - Bon Voyage by Jackie's Jewels


I am using PSP X6 to create this tag but any other version will work!

Using Jackie's Jewels newest beautiful kit "Bon Voyage" - HERE

Fabulous art by Nocturne - HERE

Mask 117 by Wee Scot Lass HERE

FTU Font Quickier

No outside filters used!

Here we go!


Open new image 700 x 700. I resized my tube choice by 40 c/p onto canvas. El Frame 1 resize by 80 c/p and place behind tube. El 11 Airplane resize by 30 c/p and place behind Frame towards top left. El 70 Tree resize by 60 c/p and place to far left inside frame, duplicate twice place one layer in the middle and the other to far left. El 37 Eiffel Tower resize by 60 c/p and place behind middle tree layer and Airplane, I added a bevel with filter color #fffefc then enhance edges. El 12 Building resize by  40 c/p and place towards right of Eiffel Tower, also added the bevel and enhance edges effects!. El 19 Bag resize by 60 c/p and place by tube's legs. El 14 Round Luggage resize by 60 c.p and place behind tube layer to bottom left. El 60 Orange Rose resize by 30 c/p and place to the left side in front of Round Luggage duplicate, flip horizontal and place to far right. . Go back to El 60 Rose resize smaller then  flip horizontal and place to the right front of Bag layer. El 64 Shoes resize by 40 c/p and place on top of Round Luggage. El 32 Perfume resize by 30 c/p and place by Shoes. El 13 Camera resize by 40 c/p and place by Bag. El 29 Mirror resize by 40 c/p and place by Luggage to the left. El 34 Jewelry Box resize by 30 c/p and place to bottom far right.  El 50 Save the Date card resize by 30 c/p and place in front of Bag layer. El 33 Key resize by 40 c/p and place tubes hand, add a bevel and enhance edges. I erased a little bit of the chain by tube's fingers. El 86 Book resize by 40 c/p and place to the bottom. El 62 Rose resize by 40c/p and place to bottom far right behind Luggage, duplicate and place in the middle of tube behind elements duplicate again flip horizontal and place to far bottom right. Last El 39 Gound c/p and place to the bottom underneath tube and elements. If you are happy with your creation, add your drop shadows. Merge Visible. Add your mask I am using 2 Papers, #11 and #12, c/p both papers, on Paper 11 Adjust Guassian Blur 3, Properties: Hardlight and lower opacity then merge down. After you make your mask then Duplicate and merge down again. On your Merged tag layer go to Photo Effects: Film and Filters and your filter color is #a0825c. Then on your Mask layer go to Photo Effects - Time machine - Cross Processing Intensity 35. Now Merge your tag, duplicate, on copy Guassian Blur 3, then properties overlay and lower opacity to about 55. Merge one more time,  add your name, cr and license and you are done!
Save as PNG!
Thanks for Looking!

October 18, 2015

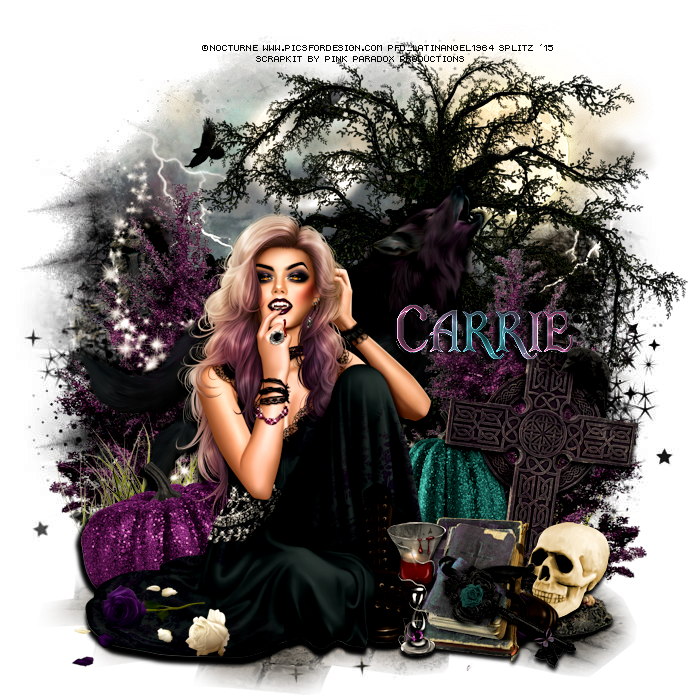
The Vampire and the Wolf - CT PTU Tut - Gothic Mystique - Pink Paradox Productions


I am using PSP X6 to create this tag but any other version will work!

Scrap Kit is Pink Paradox Productions!. A beautiful kit named Gothic Mystique. The kit has 170 Unique Elements, Beautiful 15 Frames and 40 gorgeous Papers. 
The best part is that it is now on sale at 35 % off!
Check it out HERE

Gorgeous art by Nocturne. you need a license to use her art and you can get both HERE

Mask is by me # 24

No Outside Filters used

FTU Font RM Ginger

Here We Go!


Open new image 700 x 700, I resized my tube of choice to by 35%, c/p onto canvas. El 109 Cross resize by 35 c/p and place towards right behind tube layer. El 117 resize by 60 /p and place underneath tube. El 169 Tree resize by 50 c/p and place towards left behind El Cross. El 170 Purple Tree resize by 50 c/p and place towards right behind Cross, take your eraser tool and erase as much as the trunk as needed, lower the layers down. El 17 Wolf resize by 50 c/p and place in between both trees. Now go back to Purple Tree layer, duplicate, flip horizontal and place to the left behind Wolf layer.  El 32 Chalice resize by 20 c/p and place tube's foot. El 71 Books resize by 20 c/p and place behind Chalice. ZEl 86 Key resize by 20 c/p and place by Books. El 128 moon resize by 50 c/p and place behind Tree to the top, Enhance Edges. El 58 Pirple Pumkin resize by 25 c/p and place towards bottom left behind Tube El 59 Teal Pumpkin resize by 25 c/p and place towards right side of tube. El 20 Skull resize by 15 c/p and place to far right, Add your drop shadows! Merge your Tag. Add your mask I used Paper 42 for mind, duplicate, then go to Properties: Hardlight. Merge Visible. Go to Photo Effects" Film and Filters. Filter Color: #717882 and Density 10. 
Add your name, CR and License info. Save as PNG!