I used PSP X 6 to create this tag but any other version will work
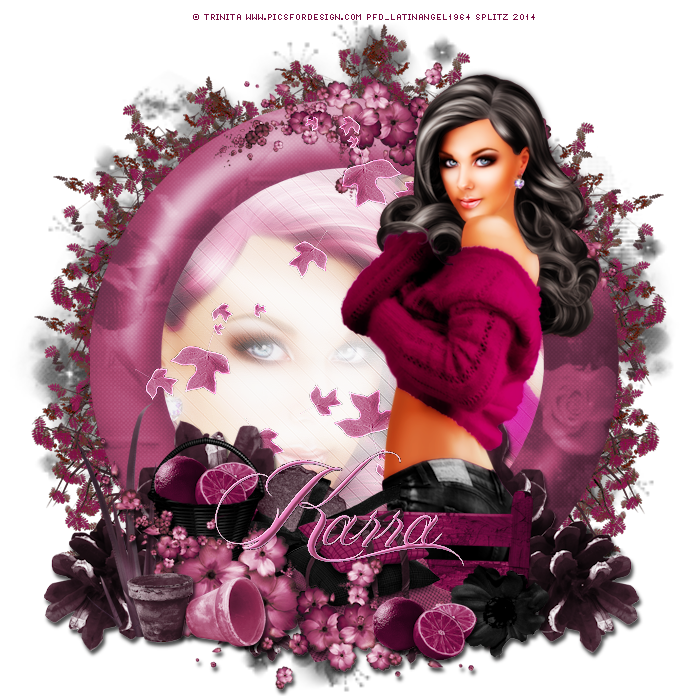
Scrapkit is a unique and beautifully done kit by Karra's Kreative Korner names Autuns' Aroma. Available
HERE and
HERE
Using the beautiful work of Trinita available
HERE
I used the one in Set 2 3rd from right
Font is FTU Billy Angel
Here we go!
Don't Forget your drop shadows!
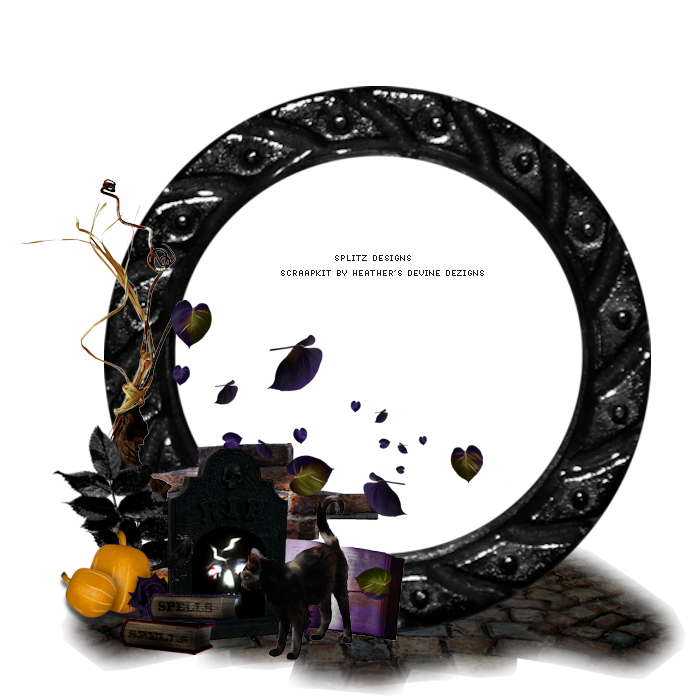
Open New Image 700 x 700
C/P your tube of choice
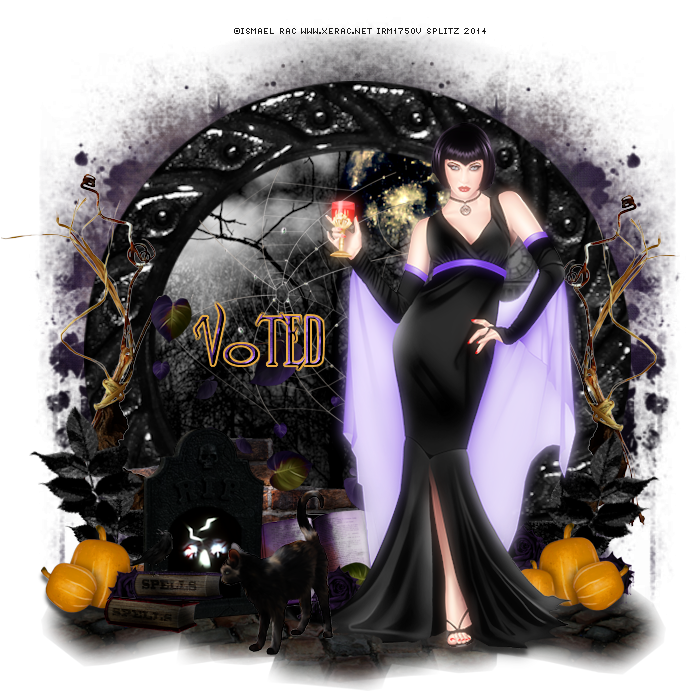
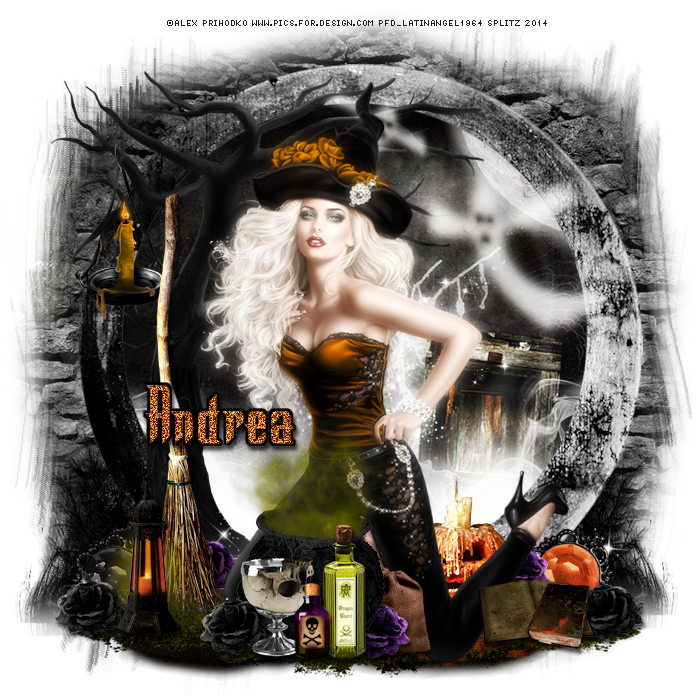
EL Frame 4 - C/P and place behind your tube
Magic Wand, click inside frame Selections - Expand by 4 -
take your Texture of choice, Adjust - Hue Saturation -
Hue: 233 Saturation 111
C/P and place behind your frame
Selections - Invert - Delete
Do Not Deselect
Take the closeup of your tube, C/P and place on your texture and place it to your liking, HIT DELETE
On your Closeup tube layer - Duplicate - On your copy Gaussian Blur 6
Properties - Softlight. On your Original Tube Layer - Properties Screen - Opacity 50 THEN
Duplicate that layer. Once your are happy with it we can move on :D
**Optional - Same Texture - Saturation Zero
C/P and place in front of the first Texture layer- Selections - Delete
If you notice it will give some shadow to your close up layers and tone down the brightness.**
EL Flowers 2 resize to 80, C/P and place to the bottom left. Duplicate this layer, flip horizontal, flip vertical and place to the top right. EL Pillows resize to 40 C/P and place by your tube to the bottom. EL Basket resize to 30 C/P and place behind Pillows. EL Heart Deco resize to 30 and place behind pillows. EL Flower Pots resize to 25 C/P and place to the bottom left.
EL Pinecones resize to 50 C/P and place to far bottom left, duplicate this layer flip horizontal and place to the bottom far right behind tube. EL Fence 2 resize to 70 and line it up with your tube to the bottom. EL Flower 3 resize to 30 C/P and place to the bottom to cover whatever is left showing of the tube. EL Passion Fruit resize to 20 C/P and place by Flower 3.
Duplicate Passions Fruit and place right on the edge of EL Basket.
Take your eraser tool, round 5 and erase the bottom of the Passion Fruit to make it look like its in the basket.
For the background behind the frame and elements. I used EL Tree .. Eraser tool and erase tree limb. Duplicate this layer 4 times and framed it around my frame
El Leaves 2 resize to 30 C/P and place on your closeup tube layers, duplicate this layer 3 times and place as wanted
Effects - Edge Effects - Enhance
You are almost done!
Go to your main tube layer - duplicate
Adjst - Blur - Gaussian Blur 3.0 Properties Soft light
Add your mask, I used Paper 8 for mine!
For the name .. I went to Properties - Layers Styles - Bevel
Effects - Enhance Edges.
Duplicate Layer - Properties Soft Light
Drop Shadow
If your happy with your tag..merge visible!
Give it a touch of Radiance
Add your name copy write and license info
Save As PNG!
Thanks for looking!