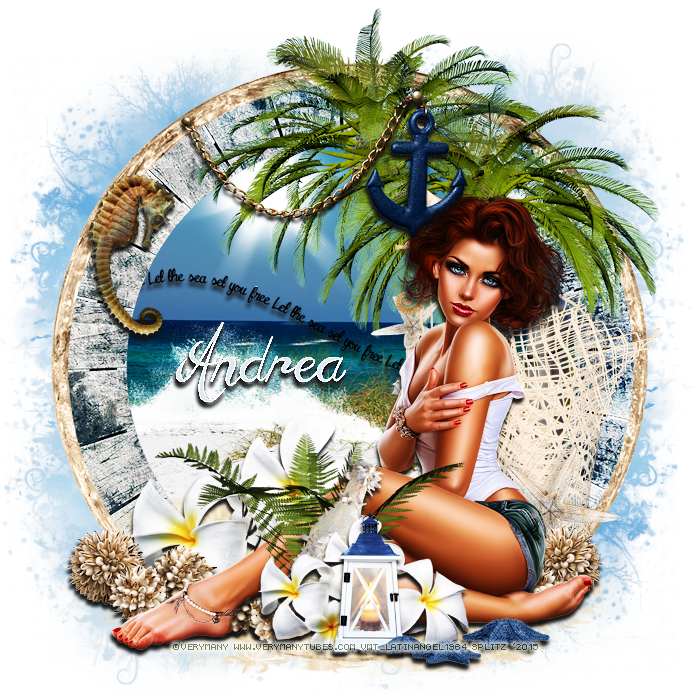
I am using PSP X6 to create this tag
Beautiful Scrapkit is Glitter of the Sea by Pink Paradox Productions.
Using the beautiful work of Maxine Gadd. You need a license to use her art and you can get both
FTU Font Angelic War
Mask is by Wee Scott Lass #117
No out side filters used.
Don' forget your drop shadows
HERE WE GO!
Open new image 700 x 700, I resized my closeup tube by 90, c/p and place onto center of canvas. Make your mask I used Paper 27. Duplicate Mask layer merge down, duplicate again then go to Properties: Burn , merge down again. El 89 Water Splash resize by 50 c/p place towards left of tube duplicate layer and place towards middle of tube. El 92 Sand resize by 70 c/p and place underneath Water SPlashes but make sure its over bottom of tube. El 83 resize by 30 c/p and place to the far left behind tube. El 13 Fish resize by 20 c/p and place to the bottom left. El 72 Clam resize by 20 c/p and place by El 13. El 117 Rose resize by 30 c/p and place behind El 72 and El 13. El 31 Pouch resize by 20 c/p and place by Clam. El 15 Fish resize by 20 flip horizontal and place by Pouch. El 40 Bottle resize by 40 c/p and place towards bottom right. El 114 resize by 20 c/p and place towards bottom in front of tube. El 129 Rope resize by 35 c/p and place towards middle in between other elements. EL 112 Rose resize to 20 c/p and place towards bottom right. El 87 resize by 50 c/p and place to far right behind tube. El 56 resize by 50 c/p and place towards left back of tube. El 18 resize by 30 c/p and place towards left of tube. El 98 Moon resize by 50 c/p and place to the background towards left. I added Frame 22 resize by 60 towards the back also. Merge tag then duplicate on copy Enhance Edges lower opacity to about 50. Merge Down. I added Photo Effects - Film and Filters - Vivid Skin Tones
Filter Color: #c69885
Add your name, cr and license info
save as PNG and your are done!