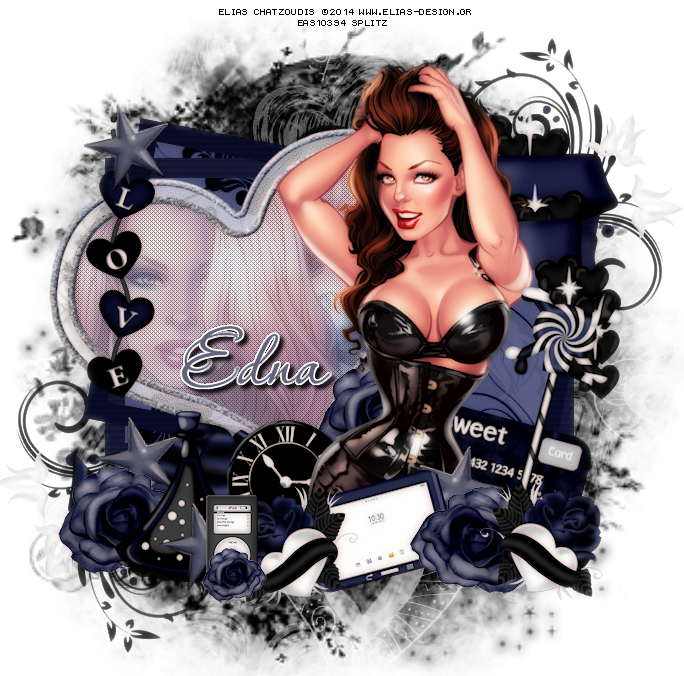
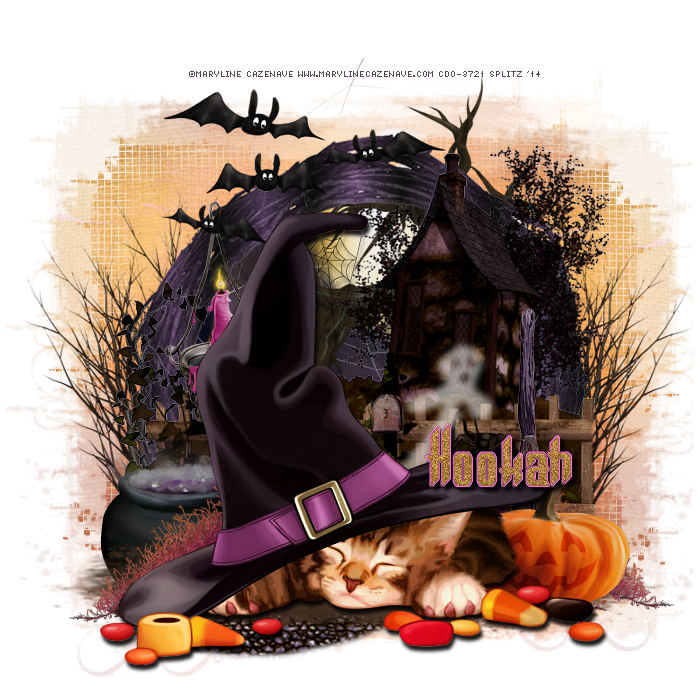
I used PSP X6 to create this tag but any other version will work!
Scrapkit is a cute one from Serenity Designs "Love at Midnight" available
HERE. Kit also includes an adorable Cookie Poser from Krissy's Imaging.
FTU Font Passions Conflict
Filters
DSX Xero Procelain
Cybia Screen Works - Light Gauze
Mask is by Moonbeams and Spiderwebs
HERE
HERE WE GO!
Open New Image 700 x 700
C/P your tube of choice onto your canvas. EL 28 Frames C/P and place behind your tube. Magic Wand, click inside frame C/P Paper 5 Selections - Invert - Delete - Deselect. EL 48 C/P and place to the top right of the frame. EL 61 Heart Frame resize to 95 Rotate Left 15 C/P and place to the left hand side in front of frame. Magic Wand, click inside Heart Frame Selections -Expand by 5 - New Layer. I made a gradient using the color of EL 29 Rose with these settings
Flood Fill twice. Take a closeup of your tube C/P behind the Heart Frame HIT DELETE. Deselect.
On your closeup tube layer DUPLICATE. On your copy tube layer Blur - Gaussian Blue 6 - Properties SCREEN
On your Original tube layer - Properties Luminance - Opacity 44.
Effects - Cybia Screenworks - Light Gauze
EL 79 and 29 resize to 40 C/P and place to the bottom right
EL 79 Duplicate flip horizontal and place to the left
EL 45 resize to 40 Free Rotate Left 15 C/P and place down by your tube. EL 23 resize 40 free rotate 15 right C/P and place to the right behind tube. EL 62 resize to 80 free rotate and place to the far right. EL 33 resize to 30 C/P and place to the left behind tube. El 15 and 20 resize to 20 C/P and place accordingly at the bottom. EL 19 Doodle C/P and place behind your frames to the top right Duplicate layer flip vertical and place to the bottom left. EL 24 star resize to 30 C/P, duplicate layer as you wish I did it 3 times and scattered them at the bottom.
EL 11 resize to 30 C/P and place behind your elements in front of frame to the bottom. El 7 resize to 70 C/P and place to the top right
once your are done go back to your main tube layer Duplicate
Blur - Gaussian 3.0 - Properties Hardlight - Opacity 53
Merge Visible
Add your mask, Name, License and Copy Write Info
Save as PNG
Thank you for looking!