Pages

Showing posts with label Pimpinc PSPers Warehouse. Show all posts

October 20, 2014

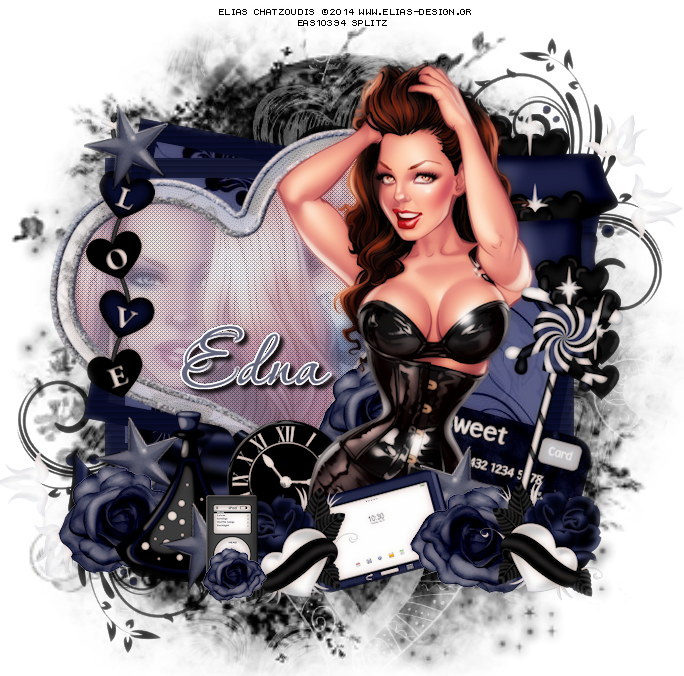
In Love - CT PTU Tut - Love At Midnight - Serenity Designs


I used PSP X6 to create this tag but any other version will work!

Scrapkit is a cute one from Serenity Designs "Love at Midnight"  available HERE. Kit also includes an adorable Cookie Poser from Krissy's Imaging.
Tubes is by the awesome Elias Chatzoudis. You need a license to use his art  and you can get both HERE

FTU Font Passions Conflict

Filters
DSX Xero Procelain
Cybia Screen Works - Light Gauze

Mask is by Moonbeams and Spiderwebs
HERE


HERE WE GO!


Open New Image 700 x 700
C/P your tube of choice onto your canvas. EL 28 Frames C/P and place behind your tube. Magic Wand, click inside frame C/P Paper 5 Selections - Invert - Delete - Deselect. EL 48 C/P and place to the top right of the frame.  EL 61 Heart Frame resize to 95 Rotate Left 15 C/P and place to the left hand side in front of frame. Magic Wand, click inside Heart Frame Selections -Expand by 5 - New Layer. I made a gradient using the color of  EL 29 Rose with these settings

Flood Fill twice.  Take a closeup of your tube C/P behind the Heart Frame HIT DELETE. Deselect.
On your closeup tube layer DUPLICATE. On your copy tube layer Blur - Gaussian Blue 6 - Properties SCREEN
On your Original tube layer -  Properties Luminance - Opacity 44.
Effects - Cybia Screenworks - Light Gauze
EL 79 and 29 resize to 40 C/P and place to the bottom right
EL 79 Duplicate flip horizontal and place to the left
EL 45 resize to 40 Free Rotate Left 15 C/P and place down by your tube. EL 23 resize 40 free rotate 15 right C/P and place to the right behind tube. EL 62 resize to 80 free rotate  and place to the far right. EL 33 resize to 30 C/P and place to the left behind tube. El 15 and 20 resize to 20 C/P and place accordingly at the bottom. EL 19 Doodle C/P and place behind your frames to the top right Duplicate layer flip vertical and place to the bottom left. EL 24 star resize to 30 C/P, duplicate layer as you wish I did it 3 times and scattered them at the bottom.
EL 11 resize to 30 C/P and place behind your elements in front of frame to the bottom. El 7 resize to 70 C/P and place to the top right
once your are done go back to your  main tube layer Duplicate
Blur - Gaussian 3.0 - Properties Hardlight - Opacity 53

Merge Visible
Add your mask, Name, License and Copy Write Info
Save as PNG
Thank you for looking!

post signature

October 12, 2014

Star - CT PTU Tut - Black Swan by Megan's Creative Designs


I used PSP X6 to create this tag any other version will work

Scrapkit is by Megan's Creative Design and Things. Kit can be found at Pimpin PSPer's Warehouse HERE

Beautiful tube by Vm available for purchase HERE. You need a license to use her art!

Mask is by Millie's PSP Madness HERE

FTU Font Sverige

Filters 
Eye Candy 4 - HSB Noise
DSB Flux - Bright Noise
Photo Effects - Vivid

HERE WE GO!


Open New Image 700 x 700, C/P your tube of choice onto the center of your canvas
El 1 and 2 Hearts I resized them bigger to 150. Image Rotate Left 15 for one and Image Rotate Right 15 for the other. C/P and place them both behind your tube
Take your Preset Tool 
Background: Null Foreground Black and draw out an Eclipse. Convert to Raster name is Circle and place behind your tube and hearts. Working with your Eclipse. Go to Selections -Float - Defloat - New Layer - Selections Border - Both Sides Anti-Alias Checked 3. Click ok
Flood Fill your with #f4c3c3, Deselect, Name that layer Border
Working with your new Border - Go to Effects Eye Candy 4 HSB Noise Smooth Lumps. Click ok.
Effects - DSB Flux - Bright Noise - Darker 47 Click ok.
Go back to Circle - Selections - Float - Defloat - New Layer
Paper 1 C/P  Selections - Invert - Delete
KEEP SELECTION
Take your closeup, C.P hit Delete Deselect.Working with your closeup tube layer DUPLICATE - On your Copy layer Adjust Gaussian Blur 6 Properties Screen.
El 43 resize to 60 C/P and place to the top right of Circle. El 31 resize to 30 C/P andp lace to bottom left behind tube. EL 42 resize to 40 C/P and place under Border layer erase anything showing over border. El 41 resize to 60 Adjust Sharpen C/P and place to the middle left. EL 55 resize to 60 C/P and place behind pink heart to the top. Duplicated this layer flip horizontal C/P and place on the right behind tube. I resized EL 55 again smaller C/P and place to the left bottom in front of tube Duplicate this layer and place to the left bottom. El 32 resize to 30 C/P andplace to the bottom right El 18 resize to 60 C/P and place behind rose on the bottom right. El 14 resize to 30 C/P and plce to bottom middle in front of tube. El 25 C/P and place to the bottom underneath your elements and tube
Add your drop shadows!
Going back to my Original Tube layer - Photo Effects - Film and Filters - Vivid - Filter Color #f2dec8 Density 5 click OK.

If you happy with your tag great. 

Add your Mask, Name, License and Copy Write info Crop if needed!
Lets Merge Visible!
Save as PNG

Thanks for looking!


post signature

September 14, 2014

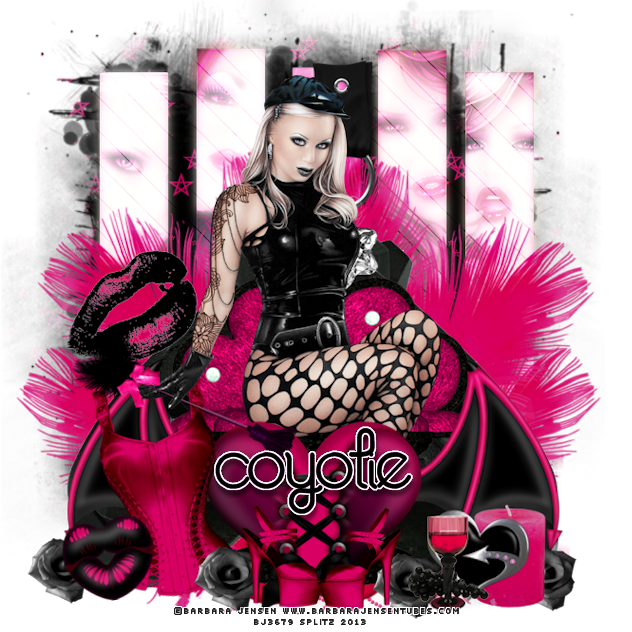
Bad Romance - CT PTU Tut - Coyotie Designs


I used PSP X 6 to create my tag but any other veriosn will work

Scrapkit is a Naughty Cute kit by Coyotie Designs named Bad Romance and you can get that HERE

Tube is from the fabulous Barbara Jensen and you can get that HERE

Filters
Penta - Jeans
Xero Radiance


Mask is by Rocked by Rachel HERE

FTU Font Zebra

Slats were created by Me


HERE WE GO!!


Open Image 700 x 700
C/P and place your tube of choice unto the center the of your canvas
Take Preset Tool
Rectangle - Background Black Foreground Null
and make 5 slats
(see tag for reference)
Click on one of the slats
Selections All - Float - De Float
and C/P a close up of your tube
Selections - Invert - Delete
Select None
Do this step for the other Slats
Merge Down your Slats name this layer SLATS
Selections All - Float - De Float C/P Paper 1
Selections Invert Delete
Then
Merge Down the TUBE layers 
Duplicate 
On your Tube copy layer 
Adjust - Blur - Gaussain Blur 6
Properties Screen
Effects
Penta - Jeans - Amount 68 Border Width 38
On Original Tube Layer
Properties Luminance


EL Feather Rose - C/P and place to the left. I duplicated this layer 3 more times and placed behind to make a frame
Merge Down the Feather Rose Layers
(see tag for reference)

El Heart Couch - Resize to 60
C/P and place at the center, place your tube on the couch

EL Wrist Cuff - Resize larger to 105 place right behind your tube

I used the following elements to place at the  of my tag

 Corset
 FeatherWhip
Chrome Heart
Heart Lips 1
Jewel Dangle
Kiss 1
Stiletto
El Candle
EL Wine and Grapes


If your happy with your tag Great!

Merge Visible, Add your mask of Choice Name and CR info!

I added a little Radiance!

Merge as PNG and you are done!


post signature

August 17, 2014

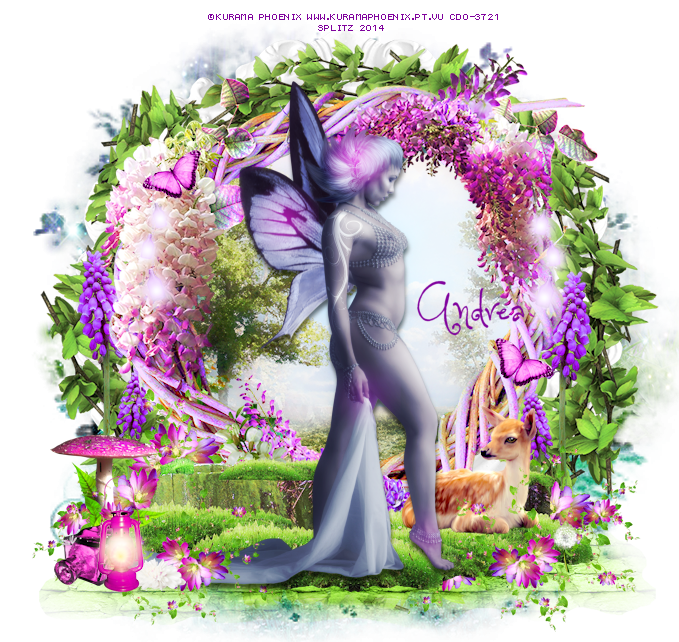
Beautiful Dreamer - Mystical Garden by Drea's Creations


I used PSP X4 but any other version will work

Scrap Kit
A gorgeous Fantasy Scrap kit by Drea's Creations "Mystical Garden"
Available HERE

Tube
I am using the gorgeous work of Kurama Phoenix available
HERE

Filters
Xero-Radiance

Animation Shop

Latern Animation
You can get that at Scrappy Bit Of Fun
HERE


Here we go!


Open new image 700 x 700

C/P your tube of choice onto the center of your canvas

Take EL 128 (Flower Frame) resize to 80
C/P  and place behind your tube
Take your Magic Wand
click inside frame
Selections-Modify-Expand 6
Take your paper of choice I am using Paper 10
C/P behind your frame
Selections-Invert-Delete
EL 15 resize to 50
C/P and place behind Frame

EL 126  Leaf Frame resize to 80
C/P and place behind Flower Frame

EL 97 resize to 50 
C/P at the bottom

EL 117 resize to 30
C/P and place to the right bottom
Duplicate this layer
Flip Horizontal and place on left side bottom

EL 4 resize to 50
C/P and place behind EL 97

EL 96 resize to 30
C/P on the right side of Gate (EL 4)
Duplicate this layer and place to the right of Gate

EL 18 resize to 20 
C/P to the bottom

El 16 rersize to 30 
C/P to the bottom

EL 13 resize to 10
C/P and place anywhere on your leaf frame
Duplicate this layer and do the same

EL 63 resize to 30
C/P and place at bottom

EL 63 resize to 20 
C/P and place to the right 

You can add other elements if you wish.

If you are happy with it, you can merge visible

Add your mask

Add your Name, CR info and License

Save as PNG


TO ANIMATE (Optional)

Take your magic wand and SELECT the wings only
You want to get as much as the wings as you can

With your wings selected
COPY to Animation Shop

Go to 
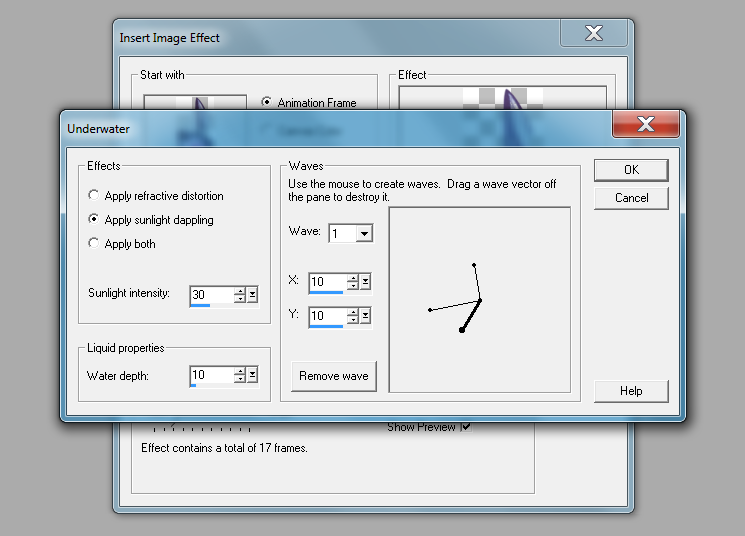
Effects-Insert Image Effects-Underwater
With these settings:


Click OK
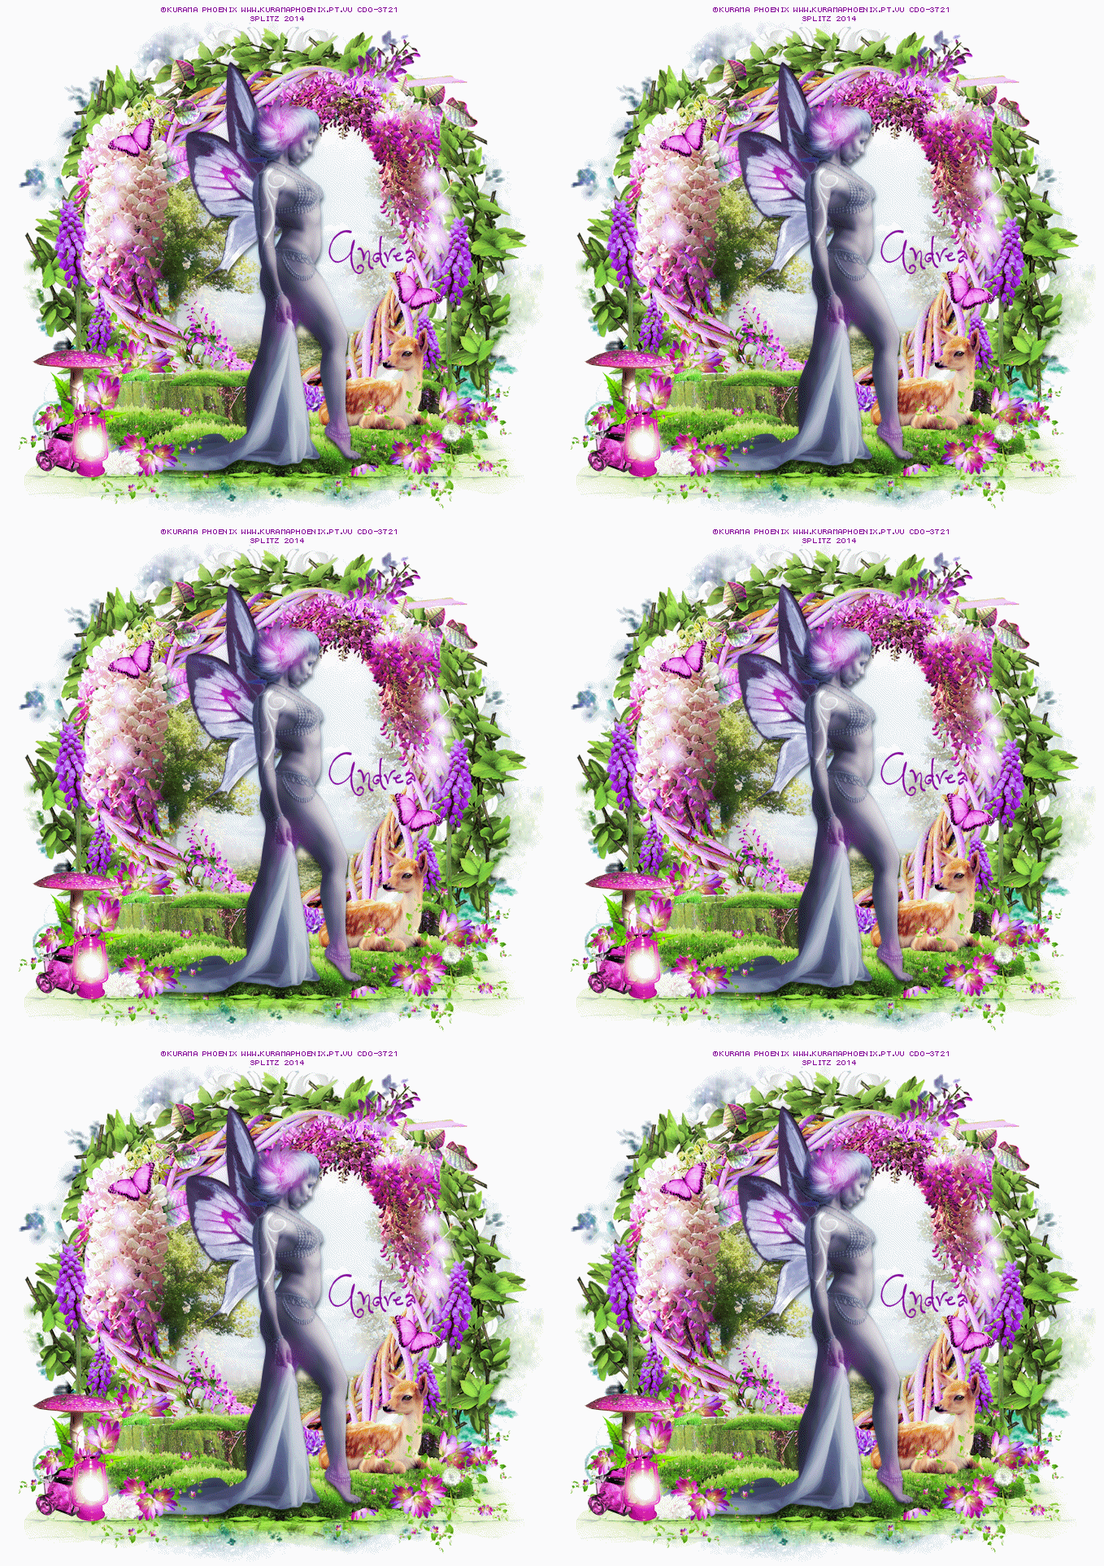
You will have 17 frames

Go back to PSP
Bring your tag to Animation Shop
Duplicate your tag to 17 Frames

Select All Copy your wings
Select All Paste on to your tag

Save as GIF


Thanks for trying my Tut!


post signature

August 9, 2014

Angel Blues - CT PTU Tut - Victorian Blue by Redefined Designs by Pamela

I used PSP x4 but any other program will work
Scrapkit is by Redefined Designs by Pamela available 
HERE
I am using the fabulous art of Pinup Toons available HERE
Filters
Eye Candy 4 - Glass and Gradient Glow
Xero Procelain
I used a mask by Dee available HERE
Here we go!!
Open new image 700 x 700
C/P your tube of choice
Frame 1 resize to 80
C/P behind your tube to the right
Effect-Eye Candy 7 - Glass
Click ok once you get the settings to where u like it!
Still working on the frame, take your Magic Wand, click inside circle
Selections-Modify-Expand 6
Take Paper 9
C/P behind your frame
Selections-Invert-Delete
DO NO DESELECT
take your tube, I used 3 tubes by Pinup Toons, 
C/P and place inside Frame
Selections-Invert-Delete
DESELECT
Still on your tube layer
Duplicate
On your copy later 
Properties-Blend Mode-Hue
On your original tube layer
Properties-Blend Mode-Hardlight
**Remember you can always change these blends**
Now you can add any elements you would like

I used 
Cage
Canister
Moon
Lantern
Violin
Butterfly
Flower 2
Blue Tree

Flower 2 resize to 80
C/P behind your tube(s) in front of frame
Resize Flower 2 again
C/P, Duplicate this layer and place them as you would like
I did one for each side of the frame
Resize Lantern
C/P to the top left of your frame
Resize Moon
C/P  and place on top by your Frame
resize Blue Tree
take your eraser tool and erase the pole
C/P and place to the the bottom right 
Duplicate this layer and place  to left
resize Cage, Violin, Canister
C/P to the bottom right
Resize Butterfly
C/P and duplicate twice and scatter them as you would like
Now your main tube(s)
go to
Effects-Eye Candy 4 - Gradient Glow
I changed the glow color to a light blue
Click ok
Add a drop Shadow
I did the same with my second main tube
Duplicate each of your main tube layers
Go to 
Properties_Blend Mode-Soft Light
If you are happy with your tag
Merge Visible
Add your mask!
Crop if needed!
Add your Copy Write, License and Name
Save as PNG!
Thank you for trying my tut!
:D
post signature

August 3, 2014

Midnight Dance - CT PTU Tutorial - Gothic Ballet by GrnIz Dezinez

You must have a basic knowledge of PSP
Programs
PSP X4 or any other version will work
Scrap Kit
Fabulously Gothy kit named "Gothic Ballet" by GrnIz Dezinez
This kit is available at Pimpin PSPers Warehouse
HERE
Tube
The fabulous work of Barbara Jensen 
You need alicense to use her art and you can get that HERE
Filters
Muras Meister Copies
Xero-Porcelain
Mask
Here
Textures
I used one by VIX. She has some fabulous ones.
Visit her HERE
HERE WE GO!
C/P your tube of choice onto your canvas
El Heart Frame 2 - Image Free Rotate - Left 10
c/p behind your tube
Magic Wand, click inside your frame, expand by 6 
Take your texture of choice
Adjust-Hue/Saturation-Colorize
settings
H: 194 S: 128
c/p texture behind your frame
Selections-Invert-Delete
DO NO DESELECT
Take your close up tube resize to 110
c/p behind your Frame
Delete
DO NO DESELECT
Duplicate your tube later
Flip Horizontal and position to other side of frame
Merge Down-Duplicate
On your copy layer
Effects-Blur-Gaussian Blue 6.0
Properties-Hardlight
On your bottom tube layer
Properties-Multiply
Lower Opacity to 55
Take EL Bling Rain - Resize to 60
c/p on to your frame
Delete-Deselect
EL Flowers
Effects-Mura Meister-Copies 
with these settings
Choose Encircle from the drop down list
Circle-Wraparound-Lighten
You can play around with the settings to get it where u want
Resize to 80
c/p behind your frame
Duplicate
On copy of your  layer 
Adjust-Blur-Gaussian 6
Properties-Hardlight

EL Feather Purple, resize
c/p behind your tube
Duplicate this layer
Flip Horizontal and place on other side of tube
El Chandelier resize
Image-Free Rotate - Left 10
c/p behind your Feather
EL Pillar - resize to 80
c/p behind tube to the right
Duplicate Flip Horizontal and place that copy on left side of frame
EL Flower 5 resize to 60
scatter them at the bottom of your tag
EL Disco Ball resize to 30
c/p and place at bottom
take your eraser tool and erase the chain
Duplicate this layer
Flip Horizontal and place on right side just behind the tube
EL Candles resize to 60
Image-Free Rotate -Right 10
c/p 
EL Star Border resize to 70
c/p and place at bottom
Go back to your main tube
Duplicate
On copy of your tube layer 
Adjust-Blur-Gaussian 6
Properties-Hardlight
If your happy with your tag great!
Add your mask of choice
Merge Visible
I gave mine a little blast of Porcelain!
Add your name, copy write and license info 
Save as PNG!

post signature