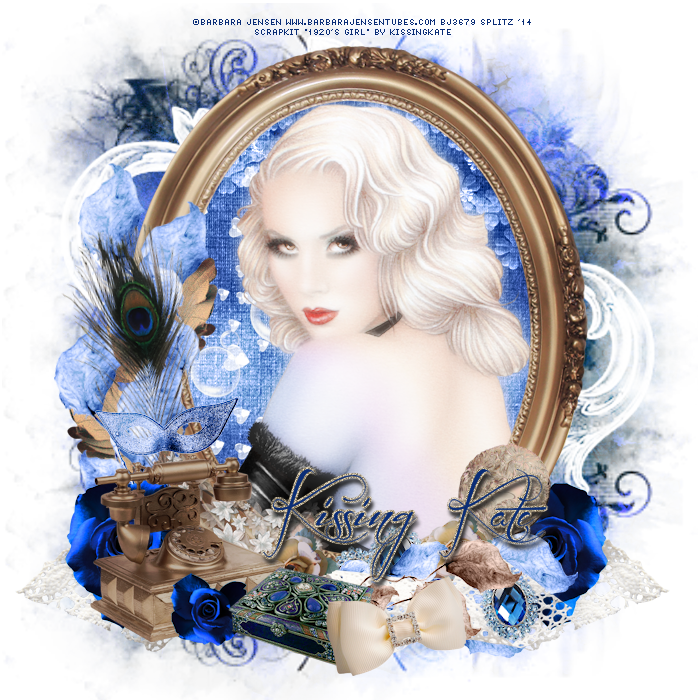
I used PSP X5 to crete this tag but any other version will work
Scrapkit is a lovely one by Kissing Kate named "1920's Girl"
I used the fantastic work of Barbara Jensen available
HERE
FTU Font Before the Rain
Mask is is by Moonbeams and Spiderwebs
HERE
Here we go!
Open New Image 700 by 700
C/P your closeup tube onto your canvas. Take Frame 1, resize to 90 C/P and place behind your tube
Take Magic Wand, click inside Frame - Selections, Expand by 6 now click on your tube layer, then Selections Invert
KEEP SELECTED
EL 69 Scatter, resize to 40 and place to the right behind your tube
Go back to your tube layer Duplicate, Gaussian Blur 6 Properties Screen lower opacity to your liking.
Take Paper 6 C/P and place behind Frame Hit Delete, Deselect
Elements 59 and 56 resize to 4 C/P to the bottom of the Frame. El 34 Blue Rose resize to 30 Rotate Right C/P and place to the right. Resize the rose smaller, rotate left, C/P and place between EL 59 and 56. EL 39 Peacock Feather resize to 50 Free Rotate Left 10 C/P and place to the right behind the other elements.
Element 63 Blue Leaves resize to 50, Free Rotate Left 10 C/P and place behind Peacock Feather Duplicate this layer, /P and place lower right. Same Element Rotate Left and place to the bottom
EL 61 Lace resize to 70 C/P and place to the bottom
EL 43 resize to 30 C.P and place to the bottom
EL 68 Blue Gem resize to 40 Rotate right 10 C/P and place to the bottom, Duplicate this layer twice and scatter them as you wish
EL 53 Mask resize to 30 C/P and place to the right in front of Peacock Feather
EL 29 resize to 40 C/P and place to the right side of the Frame behind Peacock Feather and blue leaves. Duplicate this layer, flip horizontal and place in the same same location up above.
I added the following elements to the background 64 and 61
Merge Visible, Blast it with a little Radiance
Add your mask
Add your name, license and CR info!
Save as PNG
Thank you for looking!


No comments:
Post a Comment